Sod can grow on hard ground, but only if you break up and prep the surface first. Lay it directly on compacted dirt or raw fill dirt and you're basically setting expensive grass on a table, the roots have nowhere to go, water won't soak in, and the sod dries out and dies within days. The good news is that most hard-ground situations are fixable with the right prep work. The question is how much work your specific ground actually needs.
Can Sod Grow on Hard Ground? How to Fix Hard Dirt

Marcus Volkmann
29 Jun 2026
What 'hard ground' actually means for sod

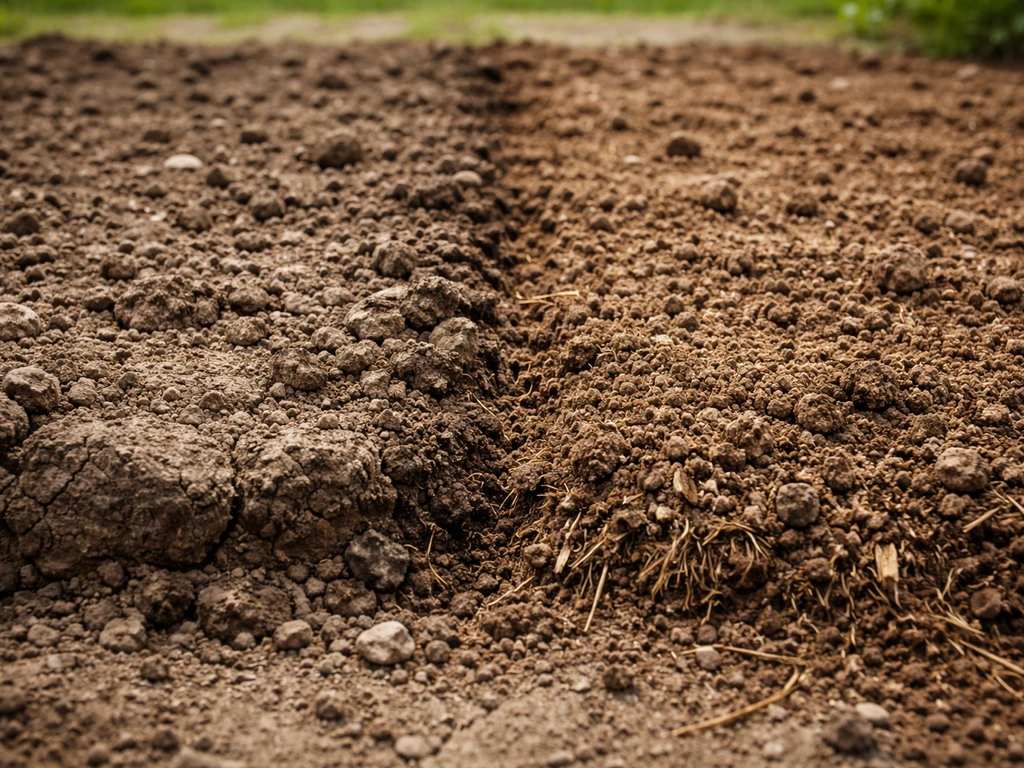
Hard ground isn't just one thing. It shows up in a few different forms, and each one causes sod to fail in a slightly different way. The most common culprit is compaction, where soil particles get pressed together so tightly that water can't move through them and roots physically can't push into the surface. Penn State Extension explains that compaction reduces air-filled porosity and slows water infiltration, which directly inhibits root growth. UMass Amherst backs this up, noting that compacted soil causes pooling and runoff instead of water soaking into the root zone, which means even heavy watering won't help if the soil surface won't accept it.
Then there's fill dirt, which is a different problem. Fill dirt is whatever material got dumped to level a grade, it might be subsoil, clay, crushed rock, sand, construction debris, or a mix of all of the above. It almost never has the organic matter, structure, or biology needed to support grass roots. Some fill is downright hostile: high pH, compacted, full of rocks, or contaminated.
If you have rocks or other hard material near the surface, sod can struggle to root, so you may need to loosen and replace enough soil so it doesn't just sit on top of rocks full of rocks. [Research on compacted subsoil with low infiltration rates found that it can behave almost like an impervious surface, generating runoff that prevents vegetation from establishing at all. ](https://www. sciencedirect.
com/science/article/pii/S0301479717306977)
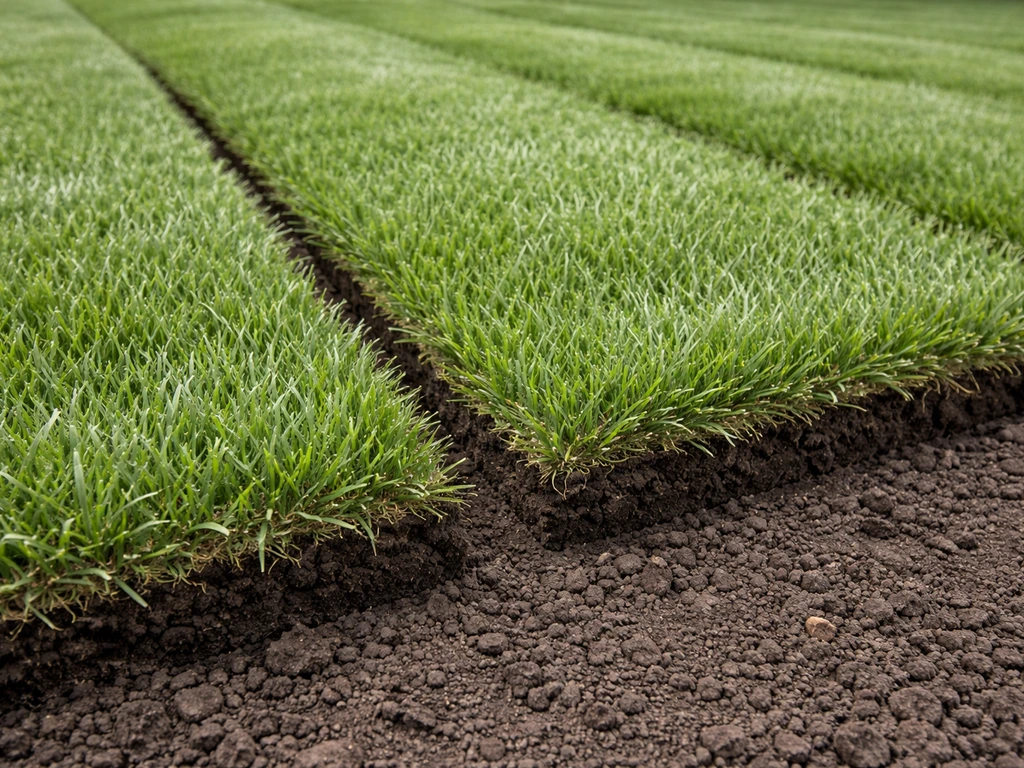
The core problem with both is the same: sod only comes with about 1 inch of attached root and soil depth (per University of Maryland Extension), so it depends entirely on being able to quickly push new roots into whatever surface you place it on. Sod can sometimes survive on concrete if you build a proper growing medium layer above it, but it is rarely a simple direct install being able to quickly push new roots into whatever surface you place it on.. If that surface is too hard, too dry, or too lifeless to accept roots within the first few weeks, the sod starves and dies before it ever becomes a lawn.
Soil prep you actually have to do before laying sod
This is where most DIY sod jobs go wrong. People assume they can lay sod on whatever is there and water their way to success. You can't. Here's what the ground needs before sod touches it.
Loosen it deep enough
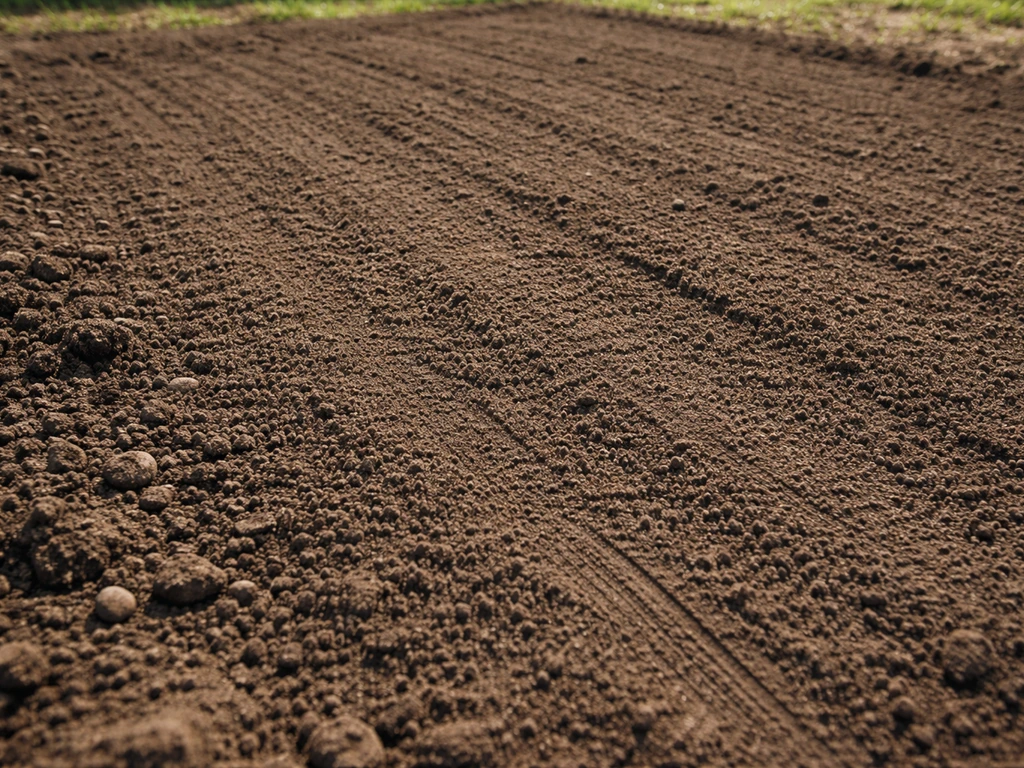
The minimum target is 4 inches of loose, workable soil, but 6 inches is better. This gives new roots room to establish during the critical first few weeks. On hard dirt, you'll typically need a rototiller, a tractor with a tilling attachment, or at minimum a heavy-duty garden fork for smaller areas. A light pass with a hand tiller won't cut it on genuinely compacted ground. Break it up until the surface is loose and has visible texture, not just scratched.
Grade and check drainage
After loosening, rake the area to a smooth, slightly sloped grade, aim for at least a 1 to 2 percent slope away from any structures to push water away from foundations. Check for low spots where water will pool. Sod sitting in standing water will rot at the roots fast. Any serious drainage issues (slopes that funnel water toward the area, hardpan layers that trap water underground) need to be addressed before you sod, not after.
Amend the surface
Once the ground is loosened and graded, work in compost or aged organic matter at a rate of about 2 to 3 inches across the surface, then till it in to a depth of 4 to 6 inches. This does several things at once: it opens up soil structure, improves infiltration, adds biology, and gives grass roots something to actually grow into. On pure clay-heavy compacted soil, you may also need to add coarse sand (not fine sand, which can make things worse) to improve drainage. The goal is a surface that a finger can push into easily and that absorbs water within a few seconds of being poured on it.
Working with fill dirt specifically
Fill dirt is a wildcard, and you need to know what you're dealing with before you invest in sod. The steps here are slightly different from dealing with native compacted soil.
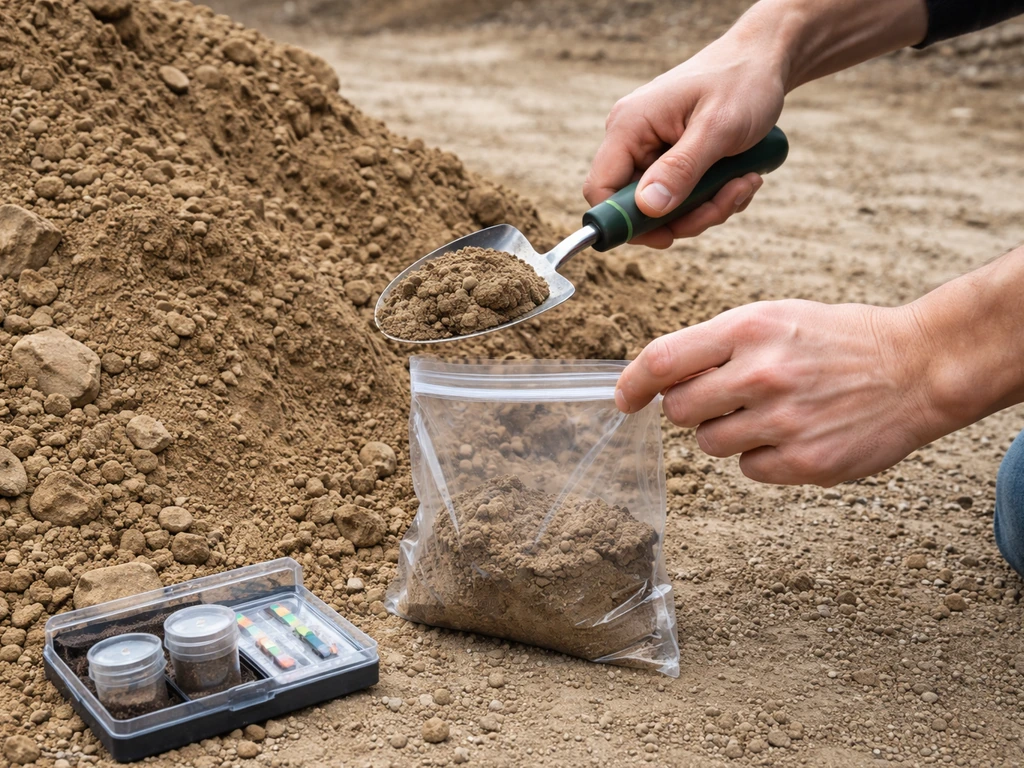
- Test it first. Get a basic soil test (most county extensions charge $15 to $25) to find out the pH, nutrient levels, and texture. Fill dirt often has wildly off pH or almost no organic matter — results like 7.8 pH and zero organic content are common. You need this information before you amend anything.
- Screen out debris. Rake through the fill and remove rocks larger than an inch, chunks of concrete, wood scraps, and any visible contaminants. Sod over buried debris will settle unevenly, look terrible, and fail to root in those spots.
- Assess the texture. Grab a handful of the fill and wet it slightly. If it ribbons between your fingers like smooth clay, you have drainage and aeration problems ahead. If it's mostly sand with no cohesion, you'll need organic matter and possibly topsoil to give it any water-holding ability.
- Add topsoil where needed. If your fill is raw subsoil or construction debris, you're often better off bringing in 3 to 4 inches of screened topsoil rather than trying to amend your way out of a bad situation. Good topsoil runs $25 to $45 per cubic yard depending on your region — factor that into your budget before buying sod.
- Amend for structure. Regardless of what you add, work 2 to 3 inches of compost into the top 4 to 6 inches of whatever you end up with. This is the non-negotiable part of any fill-dirt sod job.
Choosing the right sod for tough ground
If you're working with difficult soil, choosing the right grass type gives you a meaningful advantage. Not all sod roots with equal speed or tolerates stress equally well.
| Grass Type | Climate Zone | Root Speed | Stress Tolerance | Best for Hard Ground? |
|---|---|---|---|---|
| Tall Fescue | Cool-season | Moderate to fast | High (drought, heat) | Yes — deep roots, tolerates imperfect soil |
| Bermudagrass | Warm-season | Fast | Very high | Yes — aggressive rooting, handles compaction better than most |
| Zoysiagrass | Warm-season/transition | Slow | High (heat, light traffic) | Moderate — needs good prep, slow to establish |
| Kentucky Bluegrass | Cool-season | Slow | Moderate | No — needs excellent soil prep, poor on marginal ground |
| St. Augustinegrass | Warm-season | Moderate | Moderate (shade) | Moderate — needs consistent moisture, poor on dry hard fill |
For most hard-ground situations, tall fescue in cool climates and bermudagrass in warm climates are your best bets. Bermudagrass in particular has an aggressive rooting habit that gives it a real edge on imperfect soil, it will push roots harder and faster than most other grass types. Kentucky bluegrass, while beautiful, is genuinely unforgiving of poor soil conditions and is a risky choice when you're already fighting a difficult substrate.
How to install the sod and keep it alive
Even with good prep, installation and the first few weeks of aftercare are where a lot of sod jobs succeed or fail. Follow these steps in order.
Installation day
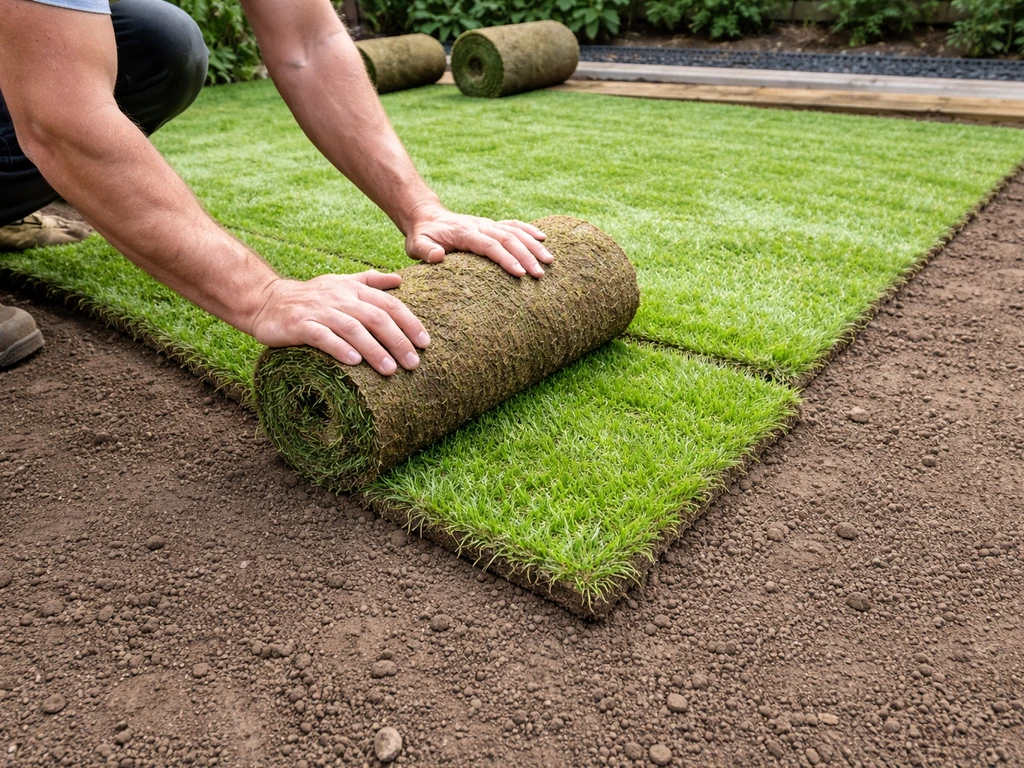
- Water the prepared soil lightly before laying sod so the surface isn't bone dry when the sod goes down.
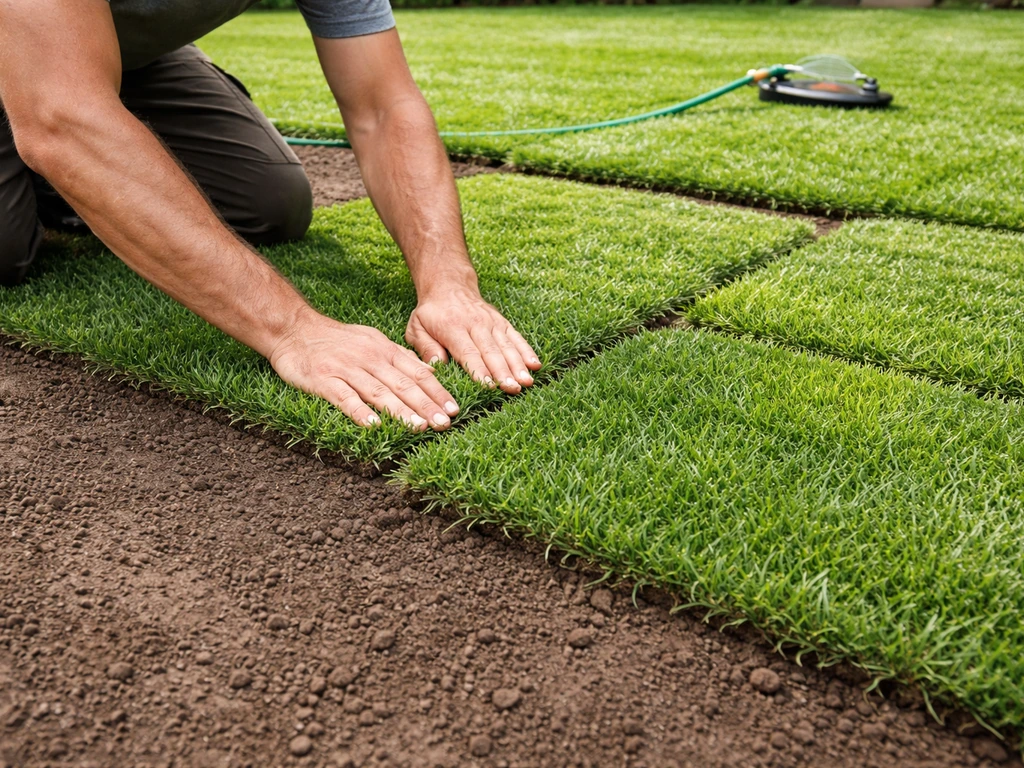
- Lay sod pieces tightly together with staggered joints (like brickwork), pressing edges flush. Gaps dry out and die fast.
- After laying each section, use a lawn roller to press the sod firmly into contact with the soil below. University of Maryland Extension specifically recommends this step because it's critical for root-to-soil contact — without it, air pockets form and the sod dries out from below.
- Water thoroughly immediately after laying, enough to wet the sod and the top 3 to 4 inches of soil below it.
- Keep pets, kids, and foot traffic off the area completely for at least 2 to 3 weeks.
Watering in the first three weeks
This is the phase where more sod dies than at any other point. In the first week, water 2 to 3 times per day in short sessions (10 to 15 minutes each) to keep the sod and the soil surface consistently moist. You're not trying to flood it, you're preventing the thin root layer from drying out. In weeks two and three, back off to once per day, watering more deeply to encourage roots to push down rather than stay shallow. By week four, you can start transitioning to a normal watering schedule of 1 to 1.5 inches per week.
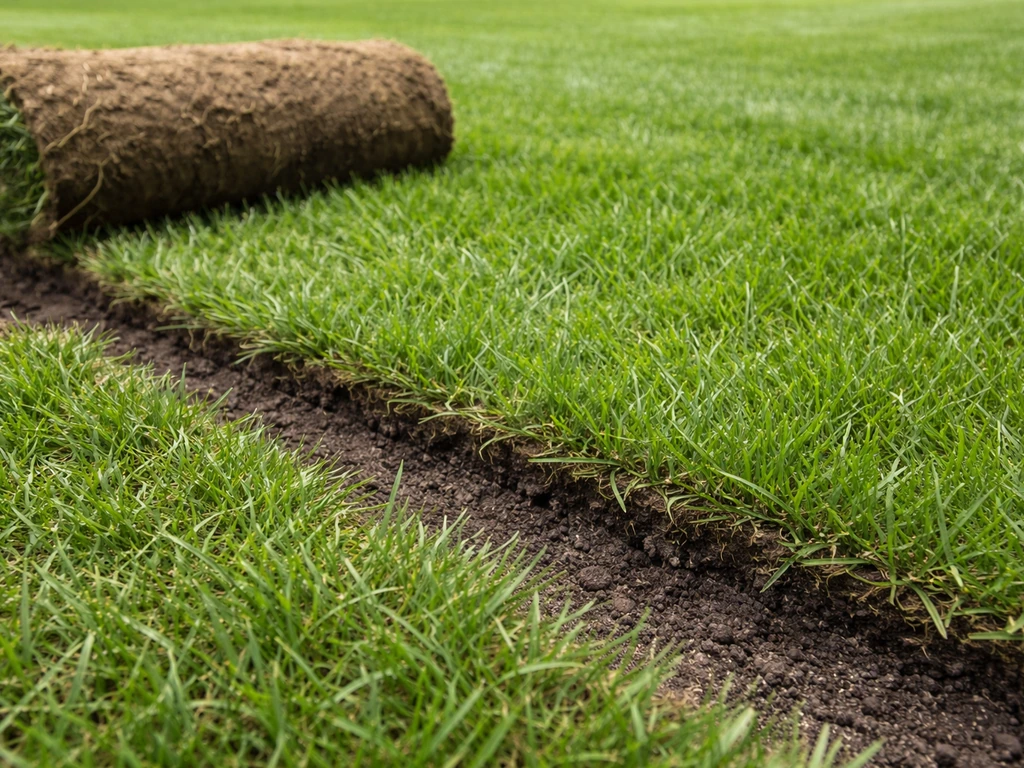
Signs the sod isn't rooting
Check for rooting at the two-week mark by gently tugging a corner of a sod piece. If it lifts easily with no resistance, roots haven't taken yet. Other warning signs include dry, curling edges (usually the first indicator of moisture stress), yellowing that spreads from the edges inward, and a spongy feel underfoot where the sod has lifted from the soil. If you see any of these, increase watering frequency immediately and consider re-rolling the affected sections to re-establish soil contact. UMD Extension advises that after laying sod, using a lawn roller or similar device to press the sod into close soil contact can improve rooting re-rolling the affected sections to re-establish soil contact.
When the ground really can't be prepped enough
Sometimes you're working with ground that simply isn't a realistic candidate for sod, at least not yet. Severely contaminated fill, pure construction rubble, areas with serious drainage problems that can't be corrected, or ground that would require more topsoil and amendment than the project budget allows. In those cases, it's better to know your alternatives than to burn money on sod that won't make it.
- Seeding: Seeding is slower but far more tolerant of imperfect soil. Grass seed germinates and grows its own root system from scratch, adapting to the soil it finds rather than trying to transplant an existing root system. On marginal but not terrible ground, seeding often outperforms sod over a full season. The trade-off is you're looking at 4 to 8 weeks before you have usable turf.
- Hydroseeding: Hydroseeding applies a slurry of seed, mulch, fertilizer, and tackifier in one pass. It's excellent for large areas of difficult or sloped ground where erosion is also a concern. It establishes faster than dry seeding and handles tough substrates better than sod.
- Groundcover alternatives: For areas that are genuinely hostile to grass — deep shade, severe slope, extremely poor soil — low-maintenance groundcovers like creeping thyme, clover, or native sedges can provide a green surface without demanding the soil quality that grass needs. These aren't lawn replacements, but they solve the erosion and bare-soil problem effectively.
- Raised planting bed or topsoil build-up: On truly bad fill, sometimes the right move is to import 4 to 6 inches of quality topsoil, rake it level, and then either sod or seed on top of that fresh layer. It costs more upfront but sets up for long-term success instead of repeated failures.
It's worth noting that hard ground is a different challenge from situations like gravel, concrete, or rock substrates, where the problem isn't just compaction but a fundamentally unsuitable base material. Those scenarios require completely different thinking. Hard dirt and fill dirt, by contrast, are usually fixable with the right prep, the decision point is whether the work and cost are worth it versus going a different route.
Your decision path, simplified
If the ground is hard but workable, prep it properly and sod with a stress-tolerant grass type. After all, if grass can grow depends on whether the “hard ground” still provides enough space and moisture for roots to establish can grass grow. If it's fill dirt, test it, screen it, amend it, add topsoil if needed, and then sod.
If the prep required is beyond your budget or the ground has serious contamination or drainage problems, seed or hydroseed instead, you'll get a better result for less money. And if the area is genuinely unsuitable for grass regardless of method, get honest with yourself about it early and explore groundcover options before you've spent money three times on failed sod.
FAQ
Can sod grow on hard ground if I just water more?
Yes, but only if you stop treating it like a finished surface. Sod needs a loose, moisture-accepting layer at placement, and it can still fail if the soil beneath is compacted. Your best move is to loosen to the target depth (about 4 to 6 inches total workable soil), then confirm water soaks in quickly before laying sod.
What’s the fastest way to tell if my soil is too hard for sod?
It can work briefly, but it usually fails because hard ground blocks infiltration. If water pools or runs off instead of soaking in, the thin root layer stays dry at the root level even while the surface looks wet. Fix the soil structure first, then water based on the sod schedule.
How do I check infiltration and drainage before I buy sod?
If water runs off or forms puddles within a few minutes, that’s a sign the ground is acting like a barrier. Another quick check is to try pushing a screwdriver or garden fork into the surface, if it barely penetrates and compacts again immediately after you disturb it, sod will struggle unless you till and amend.
Can I mix sand into clay hardpan to help sod take?
Not always, and sometimes it makes the problem worse. Fine sand can reduce pore space and lead to poorer structure, especially in clay. If you need an amendment for drainage, use coarse, angular sand sparingly and mix it into the loosened profile along with compost, then re-grade to avoid pooling.
My yard has fill dirt on top of compacted subsoil. Can sod go over that?
For most hard-ground installs, use a topsoil or compost-amended layer over loosened subsoil, not sod “directly on fill.” If you already have a thin top layer over rock or compacted subsoil, you may need to replace or add enough soil depth so roots can establish, otherwise the sod can root into rock cracks or stop at a hard layer.
How much should I water sod on hard ground, and what’s too much?
Because sod has a short, attached root and soil mass, you should aim for the surface to stay consistently moist through establishment. Avoid letting it dry once installed, but also avoid constant saturation that creates standing water. A practical approach is frequent short waterings in week one, then deeper but less frequent sessions once roots begin to knit.
Will a small hand tiller or garden fork be enough for hard dirt?
Yes, but it depends on how the equipment affects the subsoil. A light hand till pass is usually enough only for slightly crusted soil. On genuinely compacted ground, you need a deeper mechanical break-up (tiller, tilling attachment, tractor, or thorough fork loosening for small areas), and you should still verify that the surface is loose and drains.
Should I remove weeds or treat for weeds before laying sod on hard ground?
Yes, and you should not assume weed seeds are “dead” under sod. If the ground is hard and compacted, existing weeds often rebound. After loosening and grading, remove visible debris, then consider a pre-install weed control plan appropriate to your climate and grass type (timed so you don’t disrupt the amendment layer).
What do I do if my sod starts curling or lifting after installation?
Yes. If sod lifts easily at the two-week tug test, or you see dry curling edges and yellowing that starts at the edges and moves inward, roots are not establishing. Increase watering frequency immediately, press sod back into contact (reroll), and address any grade or low spots that keep soil too wet or too dry.
Is seeding or hydroseeding a better choice than sod when the ground is hard?
In many hard-ground cases, seeding can be more forgiving, especially if you can’t fully loosen or amend to the root depth. Sod is faster visually, but it demands immediate rooting contact. If your budget or access makes proper prep unlikely, hydroseed or seed with correct topdressing can reduce costly repeated sod failures.
Can I test whether my ground is suitable before doing the whole lawn?
Do a small “test strip” if you’re unsure about the base material. Lay sod on a small section after prep, then monitor moisture, pooling, and rooting for the first two to three weeks. If it doesn’t root or water still doesn’t soak in, you’ll know before expanding the job.
Will sod work directly on concrete if I add compost or topsoil?
You may still succeed, but only with a layered growing medium approach, and it must be engineered so roots can grow into a loose soil profile. Direct sod over concrete generally can’t provide root room or moisture movement. If you’re considering this, treat it like a small raised system, not a simple install.
What if my hard ground is also causing pooling near my foundation?
Sometimes, but only if the underlying hard layer is addressed. If the grade funnels water toward the sod, even well-prepped soil can stay too wet and rot at the roots. Correct the slope and drainage before installation, especially near foundations, downspouts, and swales that direct runoff into the area.
Next Articles
Will Sod Grow on Gravel? How to Make It Work or Choose Alternatives
Yes, but only with a soil layer over gravel. Learn prep, required depth, installation steps, and care to prevent failure
Does Sod Grow? How Sod Grass Takes Root and Establishes
Learn how sod grass roots and grows after install, timelines, watering and mowing, plus fixes for shade, sand, and poor
Can Sod Grow on Top of Grass? What to Do for Success
Find out if sod can grow over existing grass and get step-by-step prep, when to avoid it, and best alternatives.