Short answer: will sod grow over existing grass?
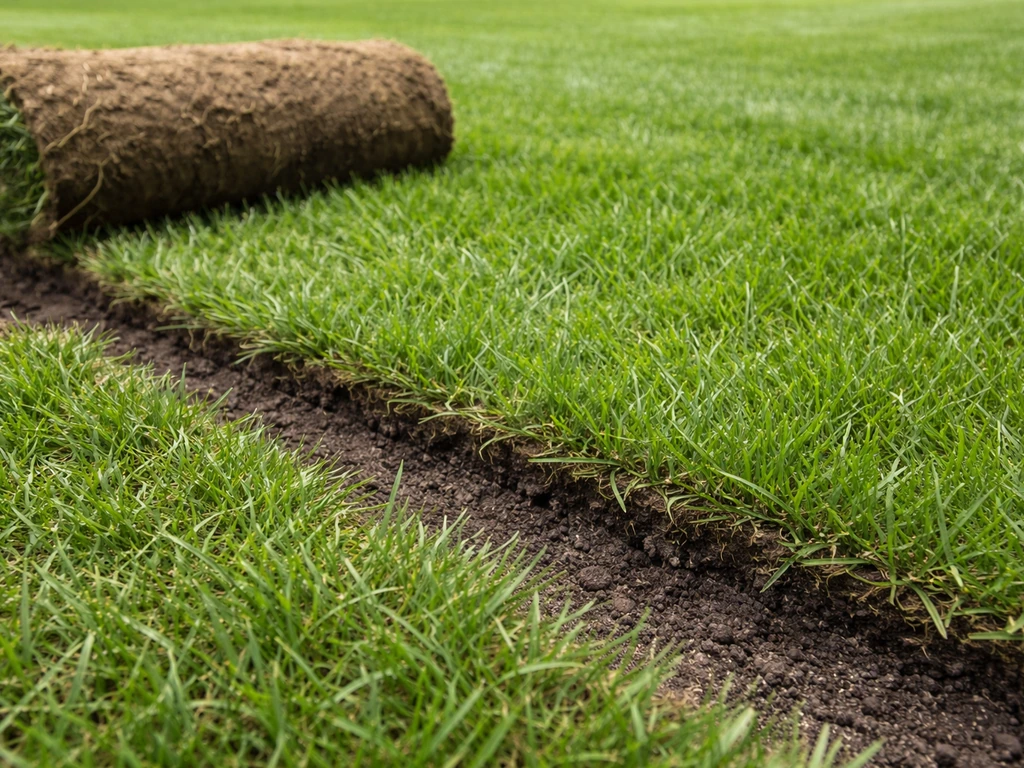
Technically, sod can survive if you lay it over existing grass, but it almost certainly won't establish properly long-term. The core problem is root contact. Sod needs its roots to touch and grow into actual soil, and a layer of living or dead grass in between acts like a barrier that prevents that from happening. Colorado State University Extension flat-out says don't lay sod on an existing lawn or where there is a thatch layer, and that's not being overly cautious, it's just how sod works. That said, there are narrow conditions where it can work well enough to be worth trying, and I'll walk you through those below.
What actually goes wrong when you skip prep
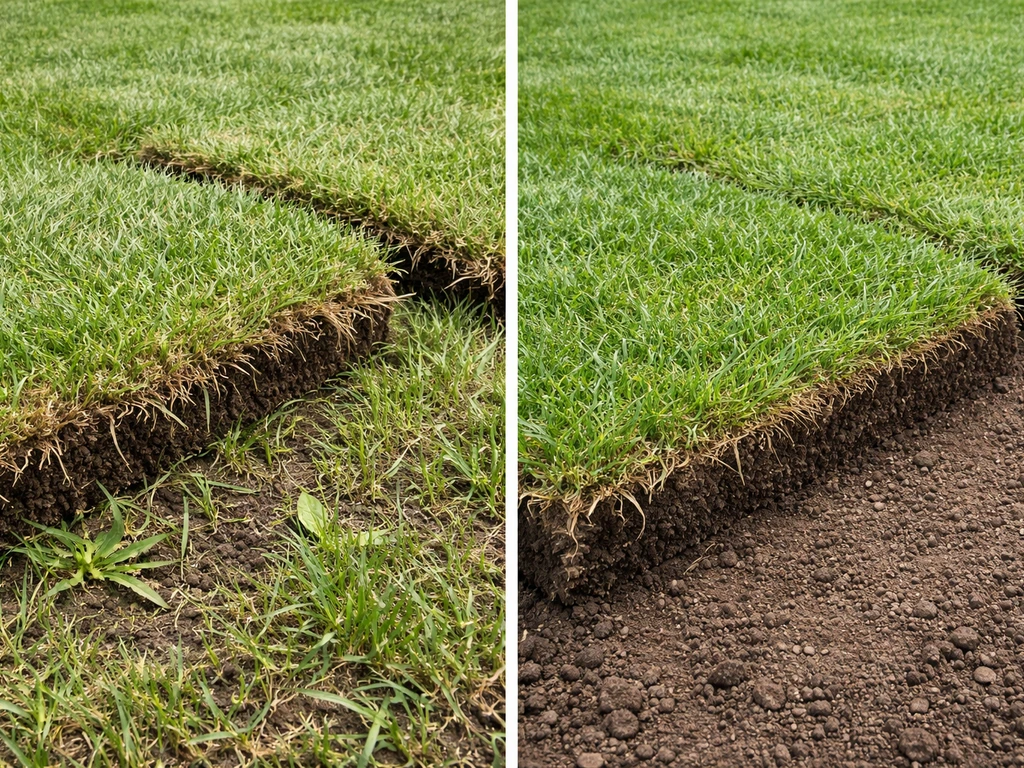
When you drop sod directly onto a living lawn, a few things go wrong almost immediately. The existing grass doesn't just sit quietly under there, it competes for water, light, and nutrients. The old turf also physically separates the new sod's roots from the soil below, creating an air gap that dries out fast. Sod needs moist, direct soil contact to root, without it, you're basically asking the roots to bridge a gap they can't cross before the sod desiccates and dies.
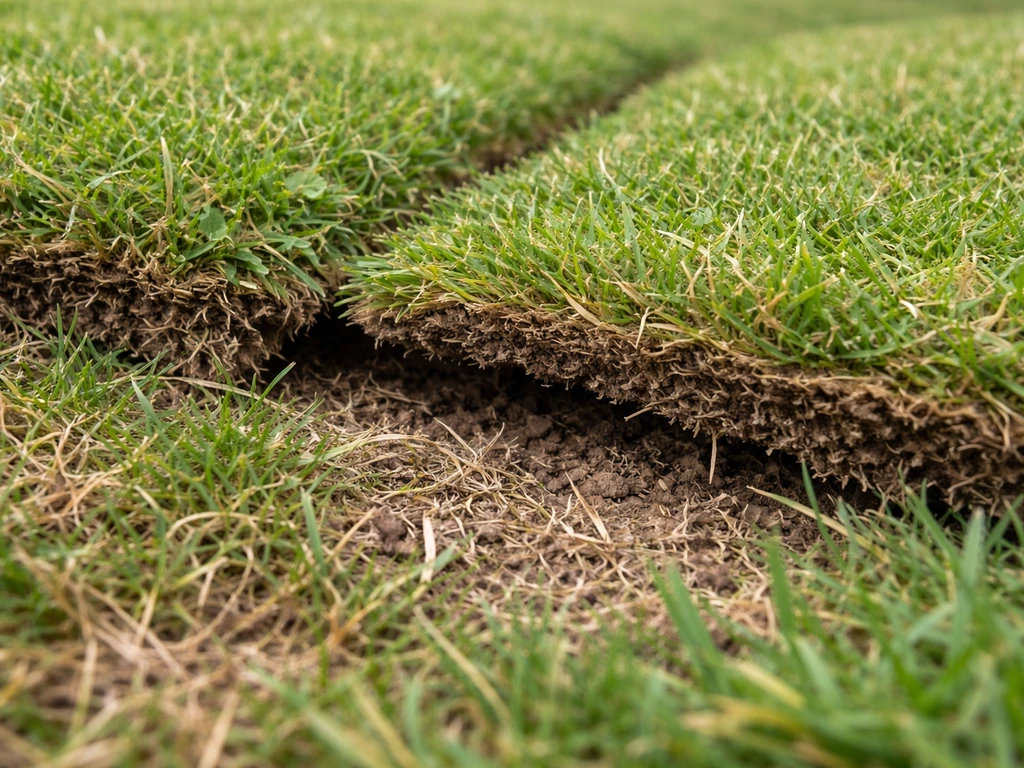
The thatch layer is another serious issue. K-State Extension notes that excessive thatch reduces turfgrass cold, heat, and drought tolerance and creates an unfavorable growth environment. Even a modest half-inch of thatch creates an unstable, spongy mat that keeps new roots from anchoring. K-State turfgrass training materials flag this exact problem: turf laid on a thatch or mat layer becomes puffy, which eventually leads to scalping and unstable establishment. What looks like a level lawn from the top becomes a soft, uneven mess underneath.
Then there's the regrowth problem. If the existing grass is alive, it will push back up through the new sod as it establishes. Bermudagrass, tall fescue, and other aggressive species can punch through a new sod layer within weeks. You end up with a patchy, lumpy lawn that looks worse than what you started with. Landscape Management puts it plainly: all sod must make soil-to-root contact, and the existing turf must be either extremely sparse or topped with soil before you lay new sod.
When laying sod over grass can actually work
There are a few situations where putting sod over existing grass has a reasonable chance of working, at least temporarily. These aren't ideal conditions, but they're realistic ones that come up in real yards.
- The existing grass is extremely thin, sparse, or nearly dead, with minimal thatch buildup underneath.
- You mow the old grass as short as possible (scalp it) and add a thin layer of topdressing soil on top before laying sod, so roots have something to grab onto.
- The ground is firm, level, and drains well — no low spots that will hold water and rot the sod mat from below.
- You're working in the right season: spring through early summer for warm-season grasses, or early fall for cool-season varieties, so the sod has time to root before temperature stress hits.
- You're installing sod over a very small area (a patch repair, not a full lawn), where you can manage watering closely and check root progress weekly.
Even in these favorable conditions, you're still fighting the contact problem. The thinner and more dead the existing grass, the better your odds. If the existing lawn looks more like a bare, weedy field than a lush turf, that's ironically closer to workable. A dense, healthy lawn underneath is actually your worst-case scenario.
How to install sod over grass if you're going to do it anyway
If your situation falls into the "can work" category above, or you just can't remove the old lawn right now, here's how to give yourself the best shot. Do not skip the prep steps, they're the difference between sod that roots and sod that turns into expensive compost.
Step-by-step prep and installation
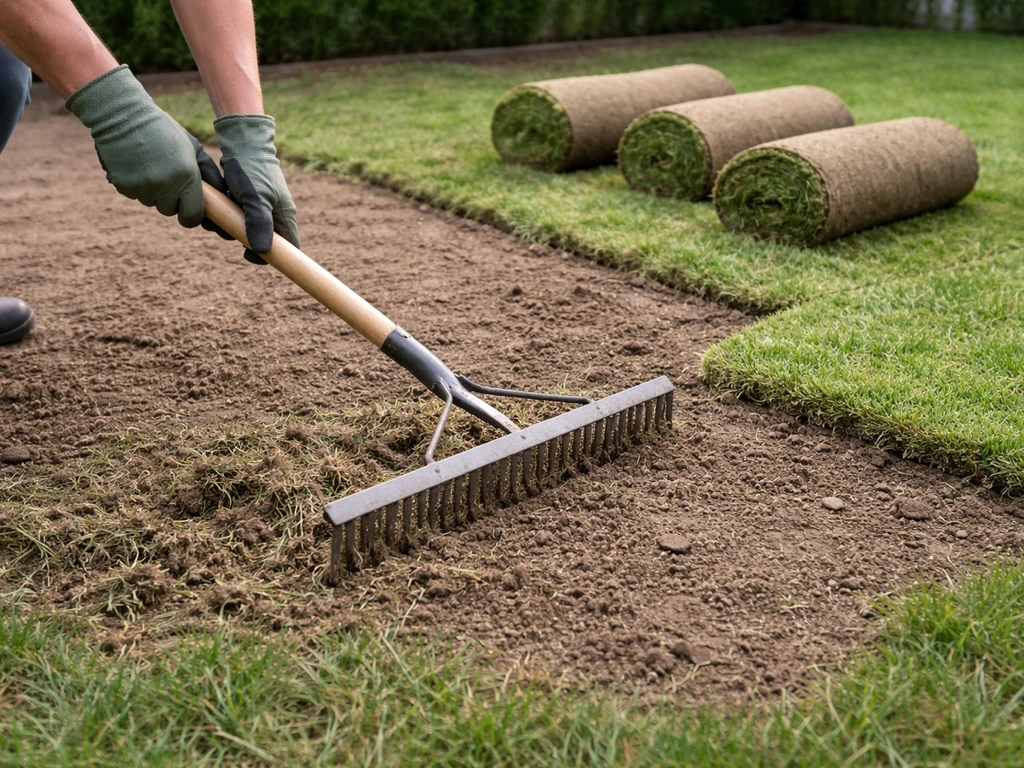
- Mow the existing grass as short as your mower will go. Scalp it. You want as little living material between the sod and the soil as possible.
- If your lawn has any thatch layer (that spongy, brownish mat at the base of the grass), run a dethatcher or power rake over it first. Even a thin thatch layer will undermine root contact.
- Apply a thin layer (about a quarter to half inch) of quality topsoil or topdressing over the scalped lawn. This gives the new sod roots something to grip and helps fill minor grade irregularities.
- Check your drainage and grade. Low spots will collect water and rot the sod underside. Fill any depressions before laying.
- Lay sod in a staggered brick pattern, seams offset, and push pieces tightly together with no gaps. Cut edges cleanly with a sod knife.
- Roll the sod immediately after laying. A roller under 150 lbs per foot is the standard spec — heavy enough to press roots into contact with the base without compacting the soil structure beneath. This step is non-negotiable for root contact.
- Water thoroughly within two hours of installation. You need to wet the underside of the sod mat and saturate the soil underneath to a depth of at least 4 inches. This is the window that determines whether the roots survive the first 48 hours.
- Water at least once per day for the first two weeks. New sod roots are shallow and delicate — they'll desiccate faster than you think, especially in warm weather.
The rolling step is worth emphasizing because a lot of homeowners skip it. Every credible sod installation standard, from Tifton Turf's prep guidelines to professional installer specs, calls for rolling after placement. It's not just about smoothing bumps. It physically closes the air gaps between the sod's root mat and the soil below, and those air gaps are what kill new sod fast.
Sod over grass vs. proper removal: a quick comparison
| Factor | Sod Over Existing Grass | Remove Grass First, Then Sod |
|---|
| Root contact | Poor to fair (depends on prep) | Excellent |
| Long-term establishment | Unreliable | Reliable |
| Old grass regrowth | High risk | Eliminated with kill/removal step |
| Cost and effort | Lower upfront | Higher upfront, lower long-term |
| Time to usable lawn | Faster | Slightly slower due to prep |
| Works on thick existing turf | No | Yes |
| Works on sparse/thin turf | Conditionally yes | Yes |
| Recommended by extension services | Not generally | Yes |
The pattern here is clear. If you're comparing purely on effort, laying over existing grass wins in the short term. If you're comparing on results, removal wins every time. Sod growing on hard or compacted ground shares a similar root-contact problem, and the fix in both cases comes down to proper soil preparation before you ever unroll a single piece of turf.
When it won't work and what to do instead
Be honest with yourself here. If your existing lawn has any of the following conditions, skip the "sod over grass" approach entirely and go straight to proper removal or an alternative method.
- Dense, actively growing turf with a visible thatch layer (anything over a quarter inch of thatch).
- Bermudagrass, tall fescue, or other aggressive spreading grasses that will push through new sod.
- Uneven ground with dips, bumps, or slopes that complicate drainage.
- Areas that are shaded or have poor drainage, where sod establishment is already harder under ideal conditions.
- Large areas where you can't monitor and water the sod consistently every day.
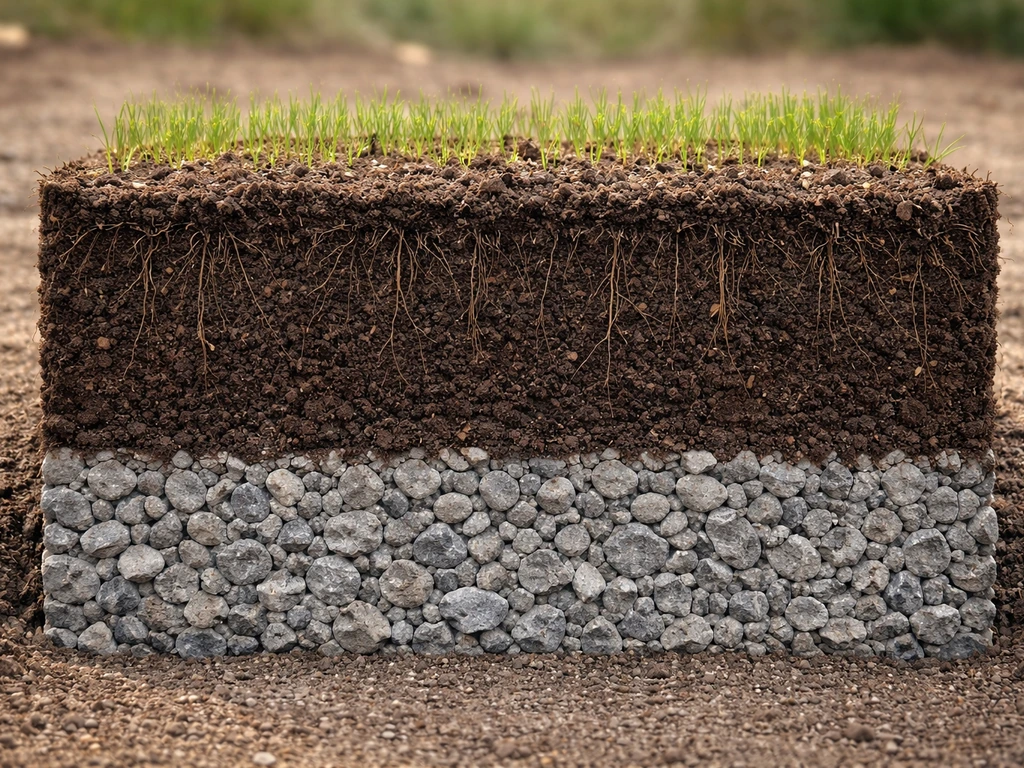
In these situations, you have better options. The most reliable path is to kill the existing grass with a non-selective herbicide, wait two weeks, and then either till and grade the soil or use a sod cutter to remove the dead material before laying new sod. This is the approach that gives sod the soil conditions it actually needs: loose, prepared soil with about 4 inches of workable depth for roots to move into.
If full sodding isn't in your budget right now, overseeding into a dethatched and sliced lawn is a solid alternative for patchy areas. Penn State Extension notes that the 4 to 8 weeks after seeding or sodding is the critical window for new lawn survival, so if you go the seed route, your watering commitment is the same, you just have a lower upfront cost. You can also look into topdressing low spots and letting natural fill-in occur if the issue is grade and aesthetics rather than full lawn failure.
People sometimes ask whether sod will work in unusual substrate situations, if you're curious, the answers are similarly cautious. Sod installed over gravel faces the same root-contact failure mode, and sod placed on concrete is a near-certain loss without major substrate preparation underneath. The common thread is always soil contact and rooting depth.
Similarly, getting sod to grow over rocks runs into identical problems, the roots simply can't penetrate hard surfaces, and without penetration, you don't get establishment. Even grass growing on rocks generally requires some soil fill or amendment to work. Existing grass is softer than rock or concrete, but the rooting barrier principle is the same.
Aftercare checklist: the 4 weeks that determine success
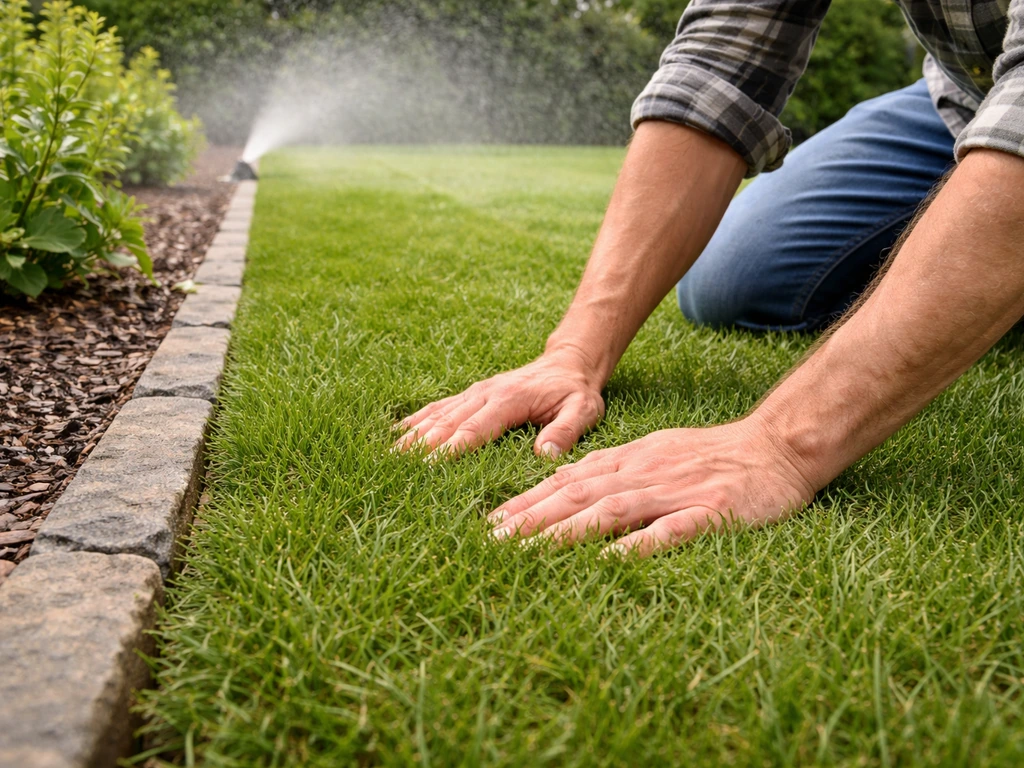
Whether you laid sod over grass or prepped the soil properly, what you do in the first four weeks will make or break the outcome. This isn't optional care, it's the establishment window. You should also keep the sod and the underlying soil consistently moist during establishment, since CSU Extension emphasizes moisture as a key after-install factor establishment window.
- Water within 2 hours of installation and soak to 4 inches depth. Don't wait — this is the single most time-sensitive step.
- Water at least once daily for the first two weeks. In hot or windy weather, twice daily may be needed. Roots are shallow and dry out fast.
- Stay off the sod for the first 2 to 3 weeks. Foot traffic before rooting tears the sod mat away from its fragile new root contact, and you're back to square one.
- At the 2-week mark, do the tug test: grab a corner of sod and gently pull. If it resists, roots are forming. If it lifts easily, keep watering and stay off it.
- If you see yellowing, increase watering frequency immediately. Yellow sod is a stress signal, not a death sentence yet — but it moves fast toward death if you don't respond.
- After rooting is confirmed (usually 3 to 4 weeks), transition to deeper, less frequent watering: about 1 inch per week total to encourage roots to grow downward.
- Mow for the first time when the grass reaches about one-third taller than its target height. Don't cut more than one-third of the blade at once.
- Check edges and seams for lifting or gaps weekly. Press them back down and keep them moist — edges dry out faster than the center of the sod.
Timing your installation also matters beyond just the establishment window. The USGA notes that for warm-season grasses like bermudagrass, laying sod between spring and end of July gives the turf enough time to develop rhizomes and anchor before winter stress. For cool-season grasses, early fall is the sweet spot. Getting this timing right is one of the few variables you can fully control, so don't waste a good installation by doing it at the wrong time of year.
If you're still in the research phase and wondering about sod behavior more broadly, understanding how sod grows and what drives successful establishment will help you make smarter decisions about prep, timing, and aftercare for your specific lawn situation.