Straw is used when growing grass from seed because it solves three problems at once: it keeps the soil surface from drying out between waterings, it buffers wild swings in soil temperature, and it holds loose seed and soil in place so rain and wind don't wash everything downhill before germination even starts. Using straw over grass seed can help keep the seedbed moist, but it won't replace watering and good conditions straw help grass grow.
Why Is Straw Used to Grow Grass: Benefits and How to Use It
Marcus Volkmann
6 Jun 2026
It's cheap, widely available, and when applied correctly, it genuinely works. Penn State calls it the most widely used and least expensive mulch for lawn establishment from seed, and that reputation is earned. The catch is that 'correctly' matters a lot. Too much straw and you smother the seedlings.
Too little and you get nothing. If you are wondering, does wheat straw help grass grow, the short answer is yes when you use the right amount and timing to protect the seed. Get it right and germination rates jump noticeably compared to bare seeding.
What straw actually does for grass seed
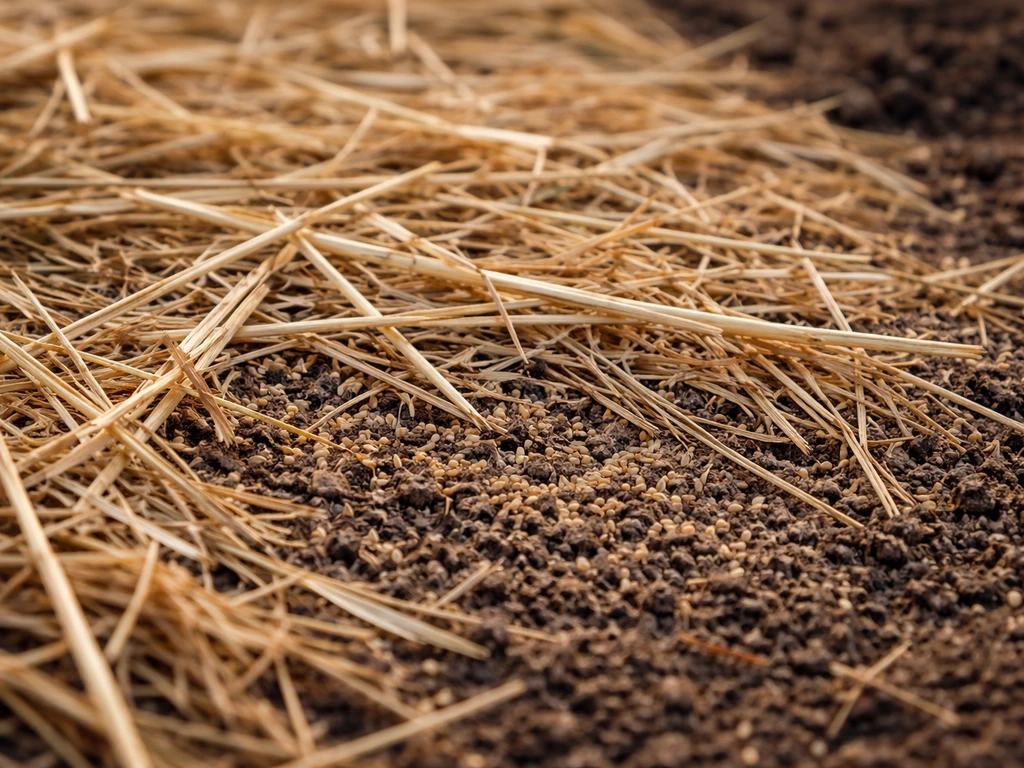
There are three real jobs straw is doing under that layer of yellow fluff, and understanding them helps you apply it smarter.
Moisture retention
Grass seed needs consistent moisture at the soil surface to germinate. The surface dries out faster than any other layer, and if it dries before the seed sprouts a root, you lose that seed. Straw acts like a loose blanket, slowing evaporation between waterings or rain events. Oregon State Extension puts the ideal coverage at just 1/8 to 1/4 inch of mulch, which sounds almost too thin but is enough to meaningfully reduce moisture loss without blocking light. This is the single biggest reason straw works: it extends the window of surface moisture, which means seeds that would have dried out and died actually get a chance to germinate.
Temperature buffering
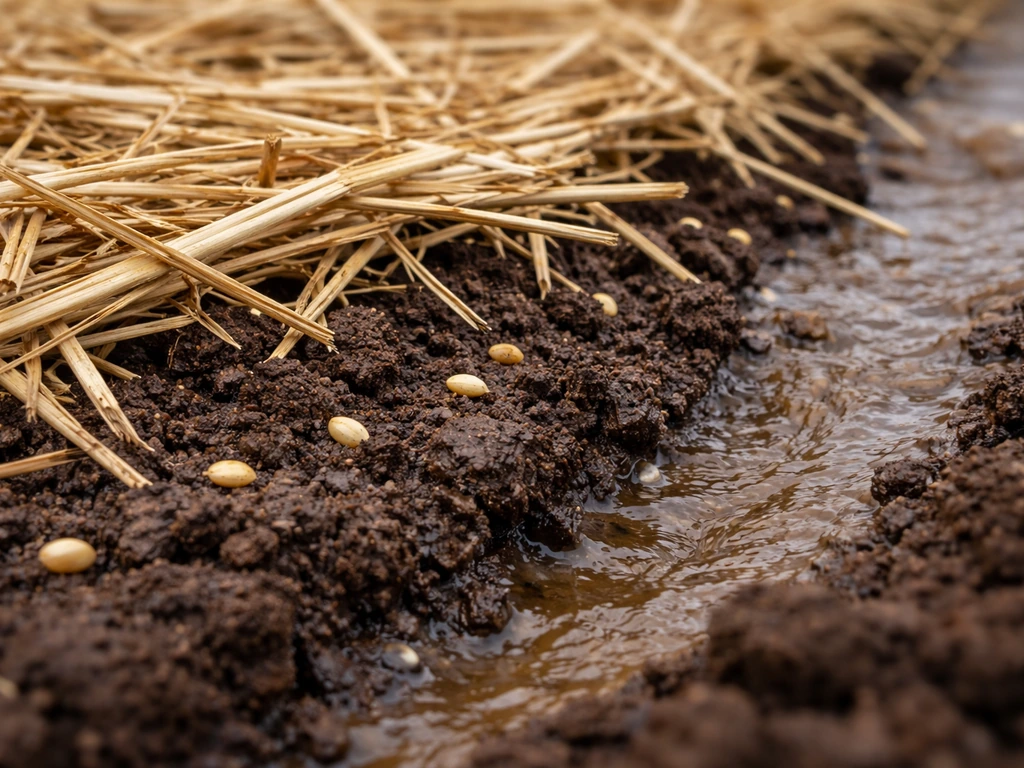
Bare soil in direct sun can spike to temperatures that stress or kill germinating seeds, especially in late spring or early summer when the goal is to get a lawn established quickly. Straw insulates the top inch of soil, moderating those temperature swings so the seed environment stays in the range that triggers germination rather than frying it. This works in reverse too: on cold nights in fall seeding situations, a thin straw layer holds a bit of warmth in the soil longer, extending your effective germination window into cooler evenings.
Seed-to-soil contact and erosion control
Good seed-to-soil contact is essential for germination, and one of the ways seeds lose that contact is through surface runoff. Even a light rain on freshly seeded bare soil can wash seeds into low spots or off the site entirely. Straw physically slows water movement across the surface, reducing the energy of runoff and keeping seed where you put it. On slopes, this is critical. A straw layer also cushions the soil surface from heavy rain impact, which otherwise creates a crust that makes it harder for emerging seedlings to punch through. The straw essentially protects the seedbed from the elements while the seeds do their work underground.
When straw helps the most
Straw earns its keep in specific situations. If you're dealing with any of these, it's worth using.
- Sloped areas with erosion risk: Any slope where runoff is a real concern benefits significantly. Straw holds both seed and topsoil in place while roots develop. Without it, you're replanting the same hill over and over.
- Bare patches with no existing grass: When there's no surrounding turf to buffer the microclimate, bare soil exposed to sun and wind dries out extremely fast. Straw is nearly essential here.
- Sandy or poor soils: Sandy soil holds almost no water, and the surface dries within hours of watering. Straw extends that window enough to give seeds a real shot.
- Hot or windy weather seeding: If you're seeding in late spring or early fall when soil temperatures are high and winds are drying, straw makes a measurable difference in germination rates.
- Large areas that can't be watered multiple times per day: Frequent irrigation is the alternative to straw, but it's not always practical. On bigger lawns or remote areas, straw compensates for less frequent watering.
Timing matters too. Fall seeding on cool-season grasses is the most reliable situation for straw, because the seed benefits from the retained warmth and moisture without the intense heat stress that can cause problems in summer applications.
When straw becomes the problem
Here's where most people get into trouble: they assume more straw means more protection. It doesn't. A layer that's too thick blocks light from reaching newly sprouted seedlings, which kills them right as they emerge. NC State extension explicitly warns against over-applying because excess moisture retention under a thick layer creates the exact conditions that cause damping-off disease in young seedlings. The seedling that just pushed through the soil surface doesn't need protection anymore, it needs light and airflow.
- Too thick: Anything beyond a light, see-through layer starts to smother germinating seedlings. You should be able to see the soil surface through the straw if you're applying the right amount.
- Blown off slopes: Loose straw on a steep slope can simply blow or slide away before it does any good, taking your seed with it. Unanchored straw on a grade is often worse than no straw.
- Moisture buildup and mold: In wet climates or with over-irrigation, straw that stays wet too long creates a humid environment ideal for fungal growth, including slime mold and damping-off pathogens.
- Hay instead of straw: Hay is cut before the plant goes to seed. Straw is the leftover stalks after harvest. Hay almost always contains viable weed seeds that will germinate right alongside your grass seed. Always use straw.
- Matting and crusting: Wet straw can mat flat and form a near-solid barrier that prevents seedlings from emerging, especially when heavier application is combined with repeated irrigation.
How to apply straw over grass seed the right way
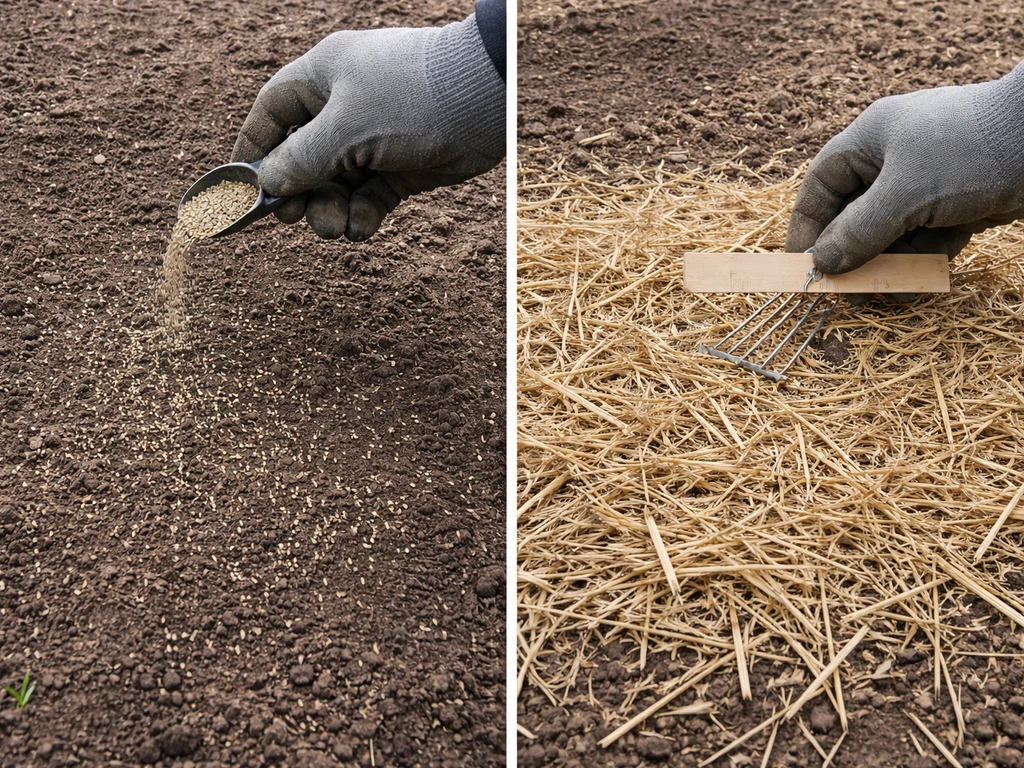
Sequence matters here. Seed first, then straw. Never the other way around. You want the seed on the soil surface with good contact, and the straw on top as a light protective layer, not a burial medium.
- Prepare the seedbed first: Loosen the top 1 to 2 inches of soil, correct any drainage issues, and rake smooth. Good seed-to-soil contact starts with the prep, not the straw.
- Seed at the right rate: Apply grass seed at the recommended rate for your species. The seed rate affects how much straw you can tolerate. A heavy seeding can handle even less straw before smothering becomes a risk.
- Apply straw immediately after seeding: Don't let the seed sit exposed. Apply straw the same day you seed.
- Use the right amount: Target 1.5 to 2.0 bales per 1,000 square feet, which is the Virginia Tech standard for turf establishment. The layer should be thin enough to see the soil through it. Oregon State's target of 1/8 to 1/4 inch depth is a useful visual guide.
- Distribute it evenly: Clumps and thin spots are both problems. Clumps smother, thin spots dry out. Fluff the straw as you spread it rather than laying it in compressed blocks.
- Anchor it on slopes: On any slope steeper than about 3:1, loose straw will shift. Anchor it with biodegradable erosion netting staked down over the top, or use a crimping tool to press straw partially into the soil surface. This is especially important if rain is forecast.
How long to keep straw on, and what to do next
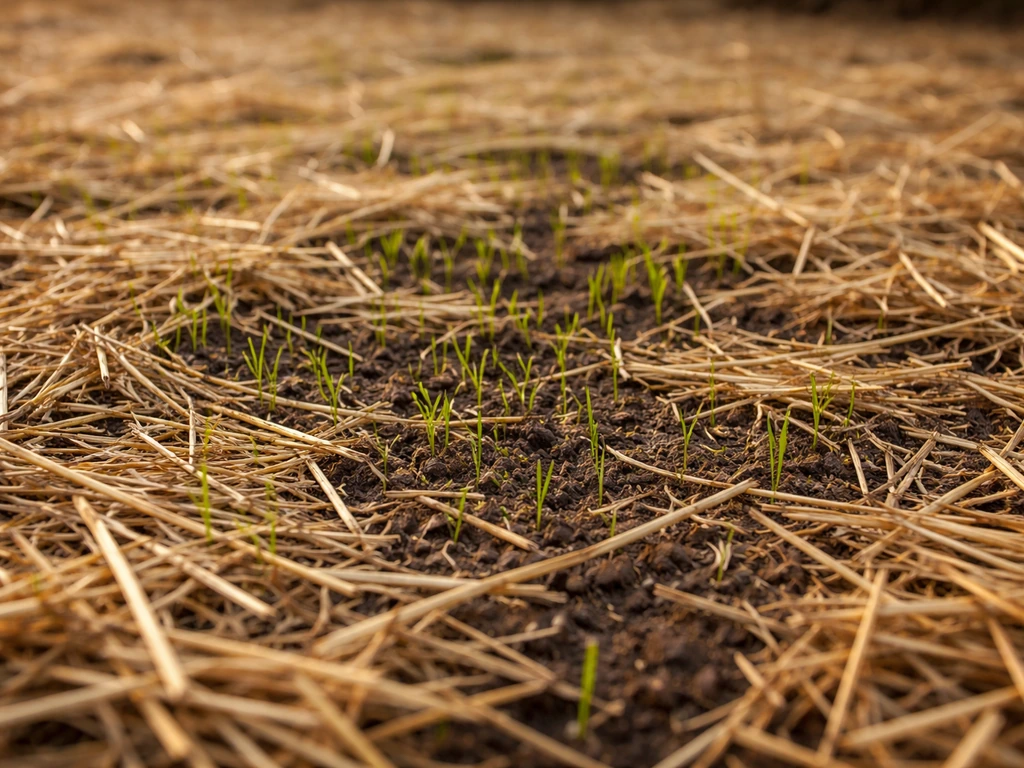
Once you see seedlings poking through the straw, the calculus changes. For example, if you sow wheatgrass seed under straw, you should see it sprout first and then slowly grow into wheatgrass plants, not full wheat stalks seedlings poking through the straw. Penn State is direct about this: remove part or all of the mulch within a few days after seed germination begins. Leaving it longer blocks the light and airflow that young grass needs, and it increases disease pressure. The goal is to get straw off before seedlings hit about an inch tall.
On flat areas, you can rake it off gently or simply let it continue to break down if the layer is thin enough that light still reaches the grass. A very thin straw application on level ground often decomposes naturally without needing active removal. On slopes where you used erosion netting, leave the netting in place (biodegradable varieties will break down on their own), but you can still remove loose straw that's sitting on top.
For mowing: wait until the new grass reaches about 3 to 3.5 inches before the first mow, then cut to 2 to 2.5 inches. Don't mow earlier. Young roots are still shallow and a mower can pull seedlings right out of the soil if you rush it. If there are pieces of straw still in the lawn at first mow, the mower will chop them up, which is fine.
Troubleshooting when things go wrong
No germination at all
If nothing is coming up after two to three weeks, lift a corner of the straw and look at the seed. If seeds are dry and hard, the soil surface dried out despite the straw, usually because the straw layer was too thin or watering was insufficient. If seeds look swollen or have small root stubs but no shoot, the problem might be soil temperature: too cold or too hot for the species you planted. Check soil temp at 2 inches and compare to germination range for your grass type. If seeds are rotting, you've got too much moisture and possibly damping-off fungus.
Patchy germination
Patchy results are almost always a straw distribution problem or seed distribution problem. Thick spots in the straw block light and create smothered zones. Thin straw spots dry out. The fix is to redistribute the straw more evenly and overseed the bare patches once you do. Check whether the seed itself ran out in places, which happens when you try to stretch a bag further than the recommended rate.
Mold or mildew under the straw
Slime mold and gray fuzzy mold on or under straw is almost always a combination of too much moisture and too little airflow. Pull the straw back to let the area breathe. If you're irrigating, back off the frequency and water more deeply but less often. The goal is to keep the soil moist at the surface without keeping it saturated. Slime mold itself won't kill grass, but the damping-off pathogens that thrive in the same conditions will.
Straw matting flat and blocking seedlings
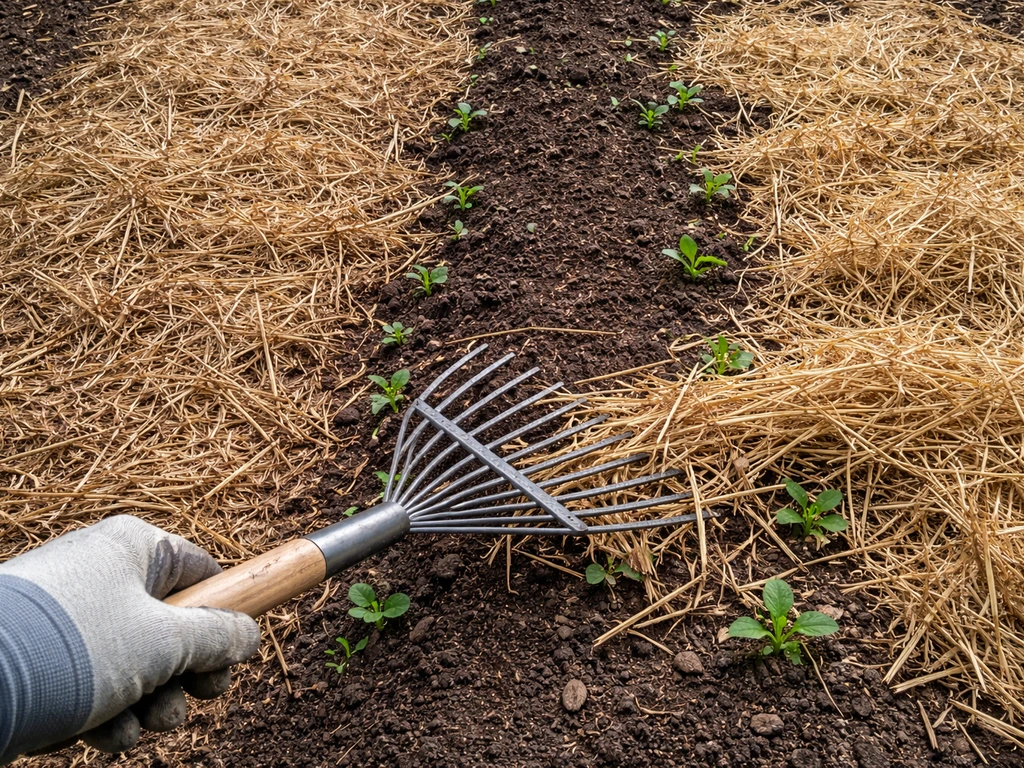
Wet straw compresses into a dense mat that seedlings can't push through. If you see this happening, gently fluff the matted areas with a leaf rake. Don't rake aggressively or you'll pull seeds out. Just break up the mat enough to let light and air back in and give emerging seedlings a path to the surface.
Straw blowing off the site
If wind is carrying your straw away, you need to anchor it before reapplying. Erosion control netting (jute or coconut coir) staked over the straw is the most reliable fix. Alternatively, lightly mist the straw after application so it's damp enough to hold in place initially, but don't soak it.
Alternatives to straw when straw isn't the right tool
Straw is the default, but it's not always the best choice. Here's a quick comparison of the most practical alternatives:
| Option | Best For | Key Advantage | Watch Out For |
|---|---|---|---|
| Straw (cereal grain) | Most flat to moderate-slope seeding situations | Cheap, widely available, easy to apply | Blows off slopes, must be removed promptly after germination |
| Erosion control blankets (jute/coir) | Steep slopes, stream banks, high-erosion areas | Stays anchored, biodegrades naturally | Higher cost, requires staking |
| Compost topdressing | Poor soils, small areas, fine-seeded species | Improves soil while protecting seed, no removal needed | Heavier to apply, can compact if over-watered |
| Hydromulch / hydroseeding | Large areas, commercial projects | Even coverage, good adhesion on slopes | Requires equipment, not DIY-friendly |
| Peat moss | Small bare patches, fine seed blending | Very thin layer possible, retains moisture well | Can dry out and crust, expensive for large areas |
| Wood fiber mulch | Areas where straw is unavailable | Good moisture retention, biodegrades | Can mat if applied too thick, slower to decompose |
For most homeowners doing a typical lawn repair or overseeding project, straw is still the right call because of cost and availability. But if you're on a steep grade where straw keeps blowing away, an erosion control blanket (jute or coconut coir) is genuinely worth the extra money. On a 45-degree slope, even perfectly applied straw will fail without mechanical anchoring. The blanket solves that problem and biodegrades on its own, so you don't have to remove it once the grass fills in.
One more thing worth knowing: the question of whether straw is strictly necessary comes up a lot, and the honest answer is that grass can germinate without it, especially in ideal conditions with frequent irrigation. Grass seed can germinate without straw, especially if you keep the soil surface consistently moist through frequent light watering grass can germinate without it.
If you are asking, “do you need straw to grow grass,” the short answer is that it helps a lot when conditions are less than perfect, especially for moisture and seed protection straw is strictly necessary. But in challenging situations, bare spots, sandy soil, slopes, hot or dry weather, straw is the difference between a patchy result and a clean stand of grass.
Whether you need it depends entirely on your specific site conditions, and those matter more than any general rule.
FAQ
Do I need straw if I’m not planting seed directly into bare soil?
If your goal is just to protect moisture, you usually do not need straw over established groundcover, only over freshly seeded soil. Use straw when the top layer is exposed and drying, and skip it where the seed is already covered by proper soil mix or where you have an irrigation setup that keeps the surface consistently damp.
Can I add topsoil or compost under straw, or will it cause problems?
Yes, but be strategic. If you use compost or topsoil, spread it lightly so seeds still have contact with the soil, then add straw afterward in the correct thin layer. Heavy compost combined with straw can trap too much moisture, increasing damping-off risk.
What if I seed first but apply straw a day or more later?
You can, but it must be applied immediately after seeding while the surface is still workable and you can maintain seed-to-soil contact. If you wait too long, the top layer dries out and the seed may not hydrate uniformly, so the “protect moisture” benefit of straw is reduced.
Is there a risk of bringing weeds if I use straw, and how can I avoid it?
Avoid using hay with seed heads. Straw mulch is typically seed-free, but hay often contains viable grass or weed seeds that can germinate and compete with your lawn.
How long should straw stay on the seedbed before I remove it?
Yes. Straw will break down faster in warm, wet conditions, which can expose seedlings sooner than you expect. Plan to check coverage around germination and be ready to remove excess once shoots appear, especially if the straw starts clumping.
How do I know whether my watering is too much if straw is holding moisture?
If straw is thick enough to stay wet and dark for long periods, it can stay saturated at the surface even if you are watering “correctly.” For best results, aim for straw that stays airy and loosely layered, then adjust irrigation frequency so the soil surface is moist, not soaked.
What should I do if nothing germinates after two to three weeks, but my watering seems fine?
Thin straw can work, but “too thin” often fails because it cannot extend the surface moisture window during hot or windy weather. If you are seeing dry, hard seeds when you lift a corner after 2 to 3 weeks, increase coverage slightly within the recommended range and consider shorter, more frequent irrigations.
Should I keep the straw damp by misting even after I start irrigating?
Lightly misting helps initial placement, but once watering starts, you should manage irrigation rather than keep wetting the straw itself. Repeatedly wetting and drying straw can cause uneven moisture delivery, leading to patchy stands.
Can straw work on a slope without erosion netting?
Yes. On slopes, wind can move straw before germination, leaving bare strips. If you notice drift, re-anchor with erosion control netting or a biodegradable blanket, and do not rely on straw alone for grades where runoff and wind are active.
When straw is matted, can I rake it, or will I damage the seed?
Raking is only appropriate if it is gentle and localized, because aggressive raking can pull seed and break seed-to-soil contact. If you must fix matted areas, use a light pass to fluff just the top straw layer, then leave the rest undisturbed.
How can I tell if my failure is due to temperature rather than straw amount?
If you’re using a grass type with broad germination temperature requirements, checking soil temperature at around 2 inches helps you troubleshoot whether your problem is moisture or temperature. Compare to the germination range for your specific species, then adjust seeding time rather than repeatedly changing straw thickness.
Next Articles
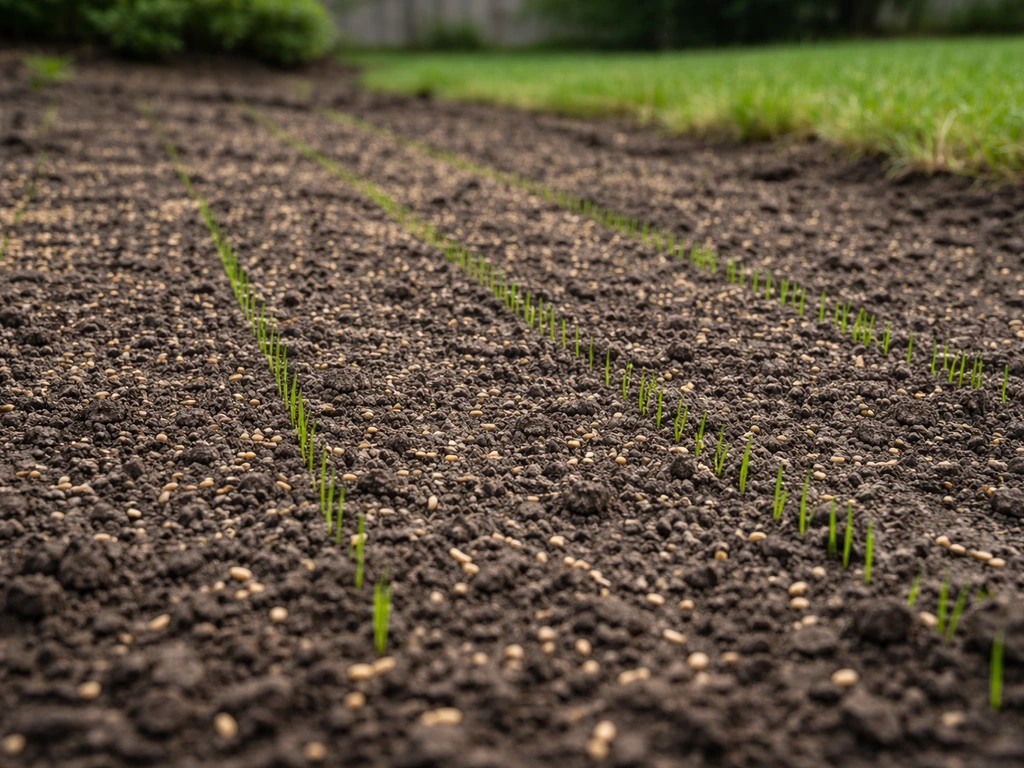
Will Grass Seed Grow Without Straw? Yes, But Here’s How
Learn how to grow grass seed without straw, with proper soil prep, seed contact, and consistent watering to prevent fail
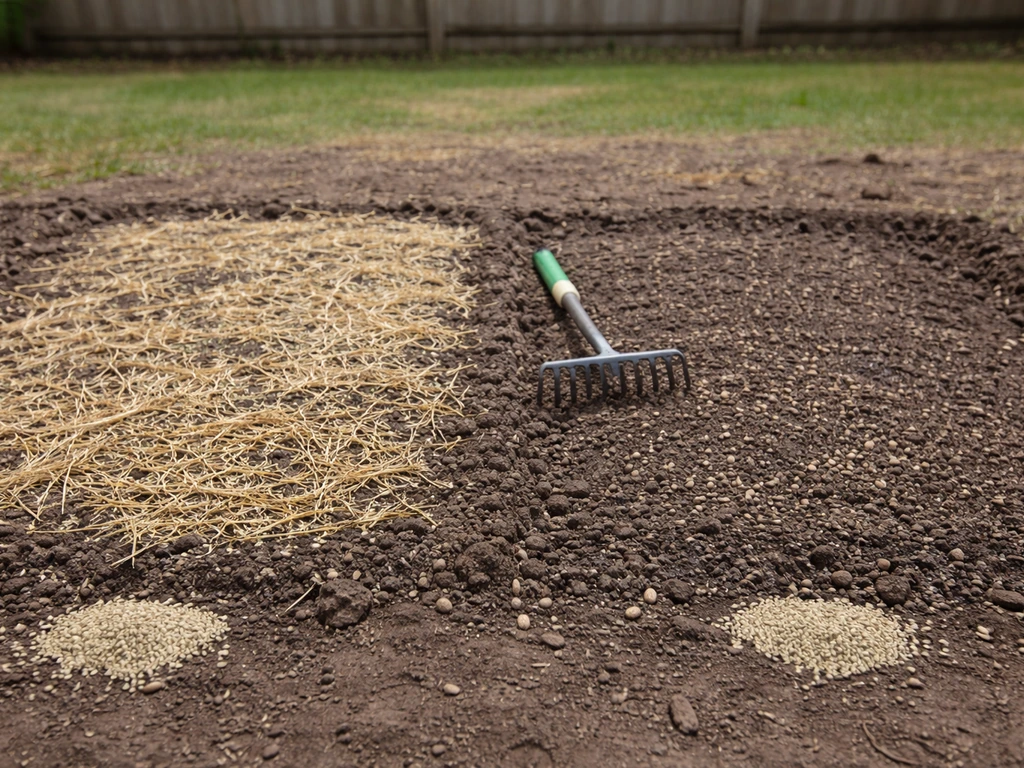
Do You Need Straw to Grow Grass? When to Use It
No, straw often isn’t required, but it helps with moisture and erosion control; learn when to use or skip it.
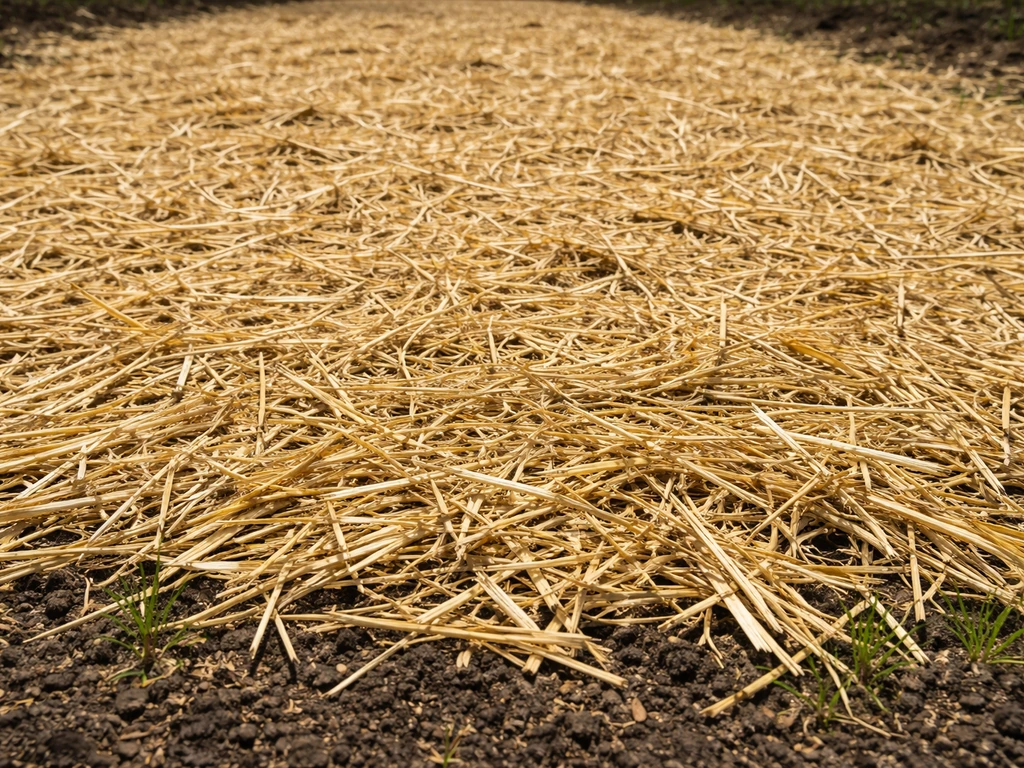
Does Straw Help Grass Grow? When, How, and Limits
Find out if straw helps grass or seed grow, how to apply it, and when it fails with troubleshooting and fixes.