
Bare patches in a lawn where grass won't grow almost always trace back to one of six causes: compacted soil, too much shade, poor or sandy soil, drainage problems, a pH or nutrient imbalance, or pest and disease damage. For targeted steps on diagnosing and fixing a single stubborn area, see our guide on grass will not grow in one spot. Knowing which one you're dealing with is the whole game. Fix the wrong thing and you'll reseed the same dead patch twice. This guide walks you through a fast triage checklist, a handful of simple field tests you can run in under an hour, and then targeted fixes for each cause so you're not guessing. If you’re wondering whether grass will grow into bare spots and what speeds or blocks recovery, see our detailed guide on will grass grow into bare spots for practical expectations and timelines. For extra diagnostic tips, see our guide on spots where grass won't grow.
Patches in Lawn Where Grass Won't Grow: Diagnose and Fix Fast
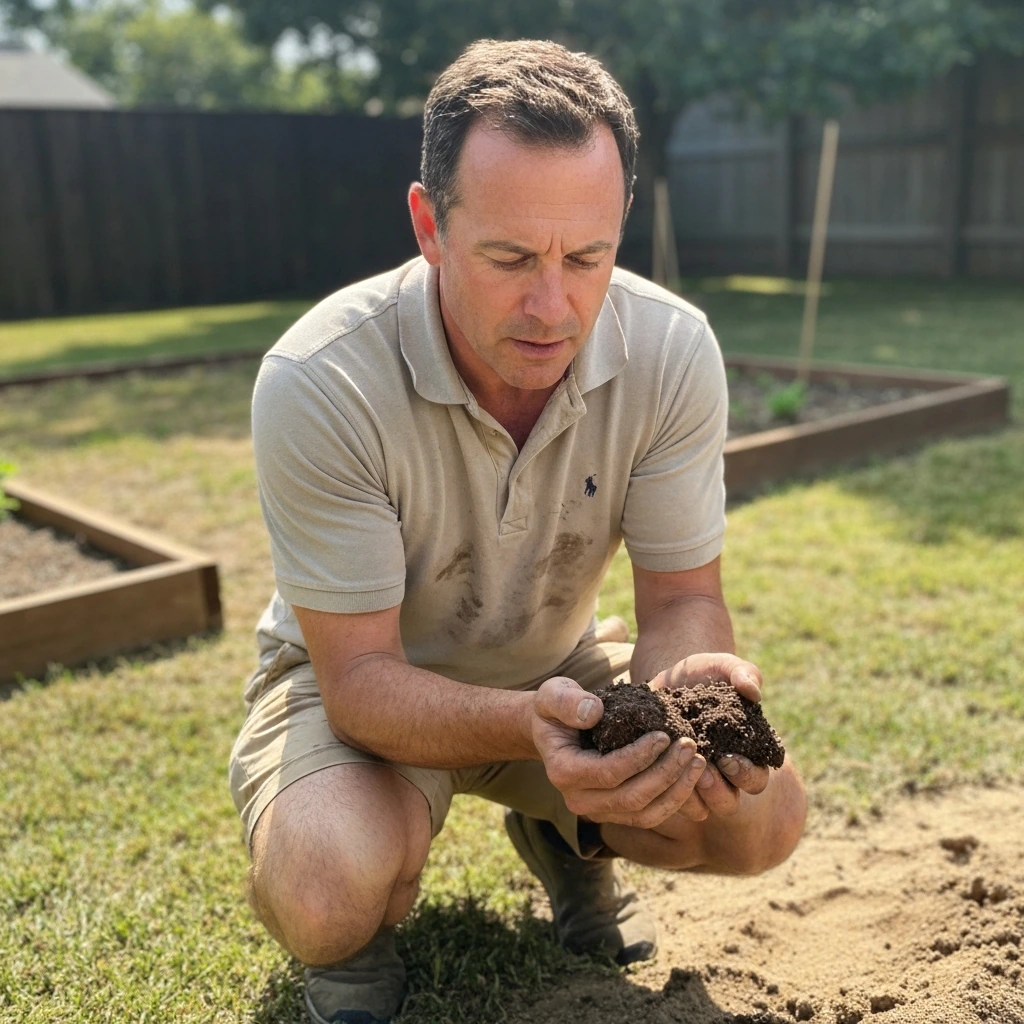
Why bare patches appear (and why the same fix doesn't work every time)
A lawn patch that refuses to grow grass is trying to tell you something. The problem is that dead, thin, or stubbornly bare turf can look almost identical whether the soil is rock-hard from foot traffic, perpetually wet from poor drainage, acidic from years of neglect, or chewed up by grubs. I've watched homeowners dump bag after bag of seed onto spots that never had a chance because the root cause was never addressed. The seed germinates, maybe even shows a little green for a week or two, and then fades right back out. The soil condition hasn't changed, so the outcome doesn't either.
The causes covered in this article include compacted soil, shade from trees or structures, poor or sandy soil, drainage issues, pH and nutrient imbalances, grub and pest damage, fungal diseases, pet urine and chemical burns, buried debris, and using the wrong grass species for your climate or conditions. Each one has a different fix, and many require addressing the soil or environment before new seed or sod has any hope. If you're also dealing with a single stubborn spot rather than multiple patches, the diagnosis process is essentially the same but often points faster to a physical cause like a buried rock or chronic dog traffic.
Quick triage: narrow down the likely cause in a few minutes
Before you dig a single hole or buy a single bag of seed, walk the patch and ask yourself these questions. The pattern and timing of the bare area usually points straight at the cause.
- Shape and location: Is the patch round and green-bordered (possible fungal disease or pet urine)? Irregular and following foot traffic routes (compaction)? Under or near a tree canopy (shade or root competition)? Along a fence or wall edge (chemical runoff or reflected heat)?
- Timing: Did it appear after a dry spell (drought stress, compaction, or hydrophobic soil)? After a wet period (disease, drainage failure)? After a new pet started using the yard (urine burn)? After you applied a fertilizer or herbicide (chemical damage)?
- Soil feel underfoot: Does the spot feel hard, almost like packed dirt? That's almost always compaction. Does it stay wet long after rain while the rest of the lawn dries? Drainage issue.
- Grass at the edges: Is the surrounding grass healthy and the boundary sharp (chemical burn or pet urine)? Or does the thinning fade gradually from center outward (compaction, shade, or pH problem)?
- Thatch layer: Press your thumb into the surface. More than about half an inch of spongy brown mat means thatch is thick enough to block seed germination and water infiltration.
- Visual signs of pests: Are there brown, irregular patches with turf that lifts easily like a loose carpet? Grub damage. Do you see small yellowing patches spreading outward in a ring pattern? Possible disease. Silvery or scorched-looking blades in hot dry weather? Chinch bugs in warm-season lawns.
- Recent changes: New construction, heavy equipment, or soil deliveries nearby can compact subsoil. A newly planted tree will cast more shade each year. These context clues matter.
The repair workflow from start to finish
Here's the practical sequence I follow on any bare patch, whether in my own yard or a client's. Skipping steps costs more time in the end.
- Inspect the pattern, timing, and context (use the triage checklist above) to form a working hypothesis about the cause.
- Run quick field tests to confirm: the screwdriver test for compaction, the drainage hole test, a water-drop test for hydrophobic soil, thatch depth measurement, and a grub pull-up check if pest damage is suspected.
- Collect a composite soil sample and send it to your local extension lab for pH, nutrients, organic matter, and a lime or sulfur recommendation. This step costs under $20 and prevents a lot of expensive guessing.
- Address root-cause issues first: aerate compacted soil, improve drainage, adjust pH, treat confirmed pests. Seeding or sodding before fixing the underlying problem is wasted effort.
- Choose your repair method (overseeding, sodding, or plugs) based on the season, budget, and urgency, and match the grass species to your climate and site conditions.
- Irrigate correctly during establishment: frequent light watering during germination, then shift to deep infrequent watering once seedlings are rooted.
- Monitor over 4 to 16 weeks depending on species, and re-evaluate any spots that fail to fill in. A second failure in the same spot almost always means the root cause wasn't fully resolved.
Simple confirmation tests you can run yourself
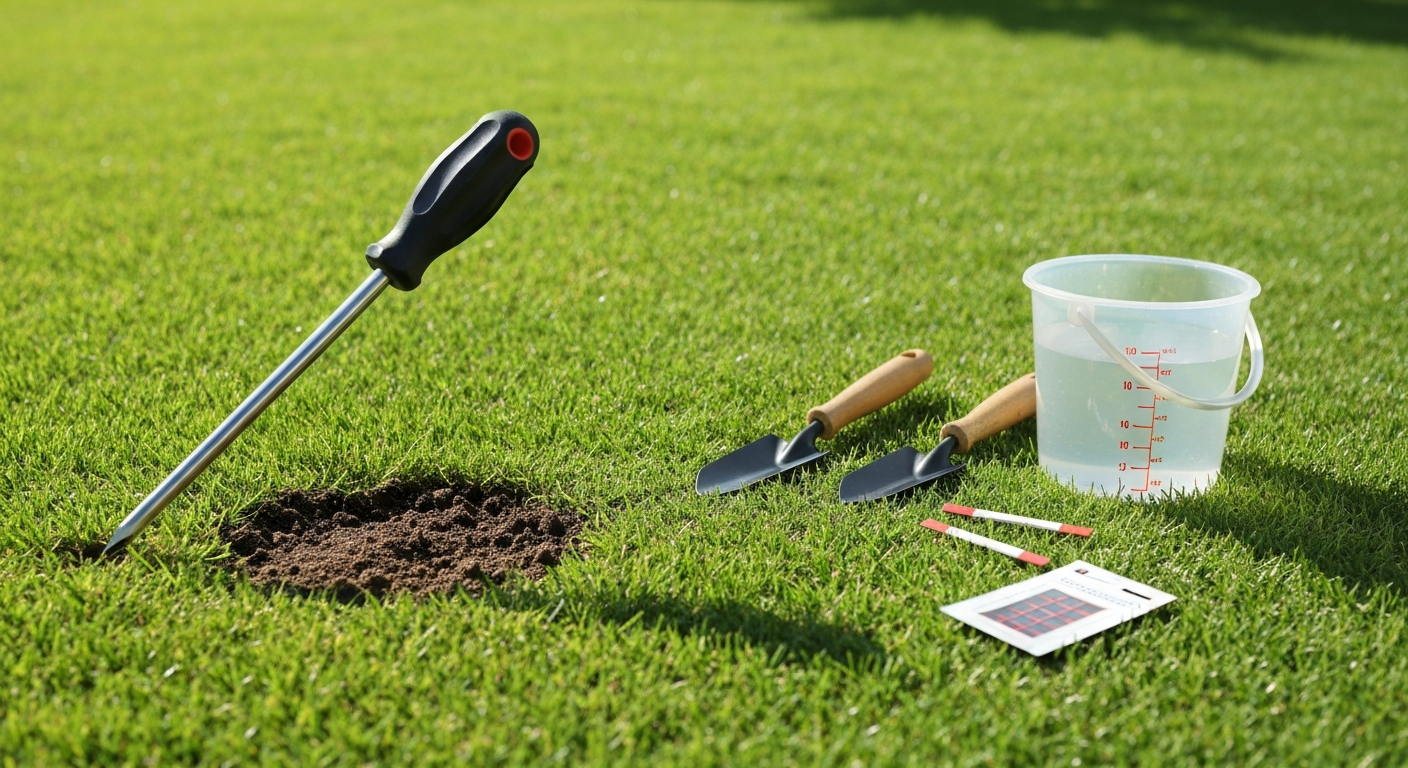
You don't need lab equipment for most of these. A screwdriver, a bucket of water, and a $5 pH strip kit will cover the majority of diagnoses.
Compaction probe test
Push a standard long screwdriver or a metal soil probe straight down into the bare spot. If you can't get it 6 inches deep with normal hand pressure, the soil is compacted enough to restrict root growth. For comparison, poke the probe into a healthy area of your lawn nearby. The difference in resistance is usually dramatic. Research puts the threshold for severely restricted root elongation at around 2.0 to 2.5 MPa of penetration resistance, which roughly corresponds to a bulk density above 1.4 g/cm3 in sandy soils or 1.6 g/cm3 in loams and clays. You don't need to measure those numbers precisely. If the screwdriver stops at 2 to 3 inches, you have a compaction problem.
Grub pull-up (tug test)
Grab a square foot of turf at the edge of the bare patch and pull upward firmly. Healthy turf with intact roots will resist. If the turf peels back easily like a section of loose carpet, the roots have been severed, which points to white grub damage. Cut a 1-square-foot section of sod at the edge of the patch, peel it back, and count any C-shaped larvae in the top 2 to 4 inches of soil. A threshold of roughly 8 to 10 grubs per square foot is the common action level cited by extension programs for many species, though the exact number varies by grub type and grass species. Find a few and it may not be your primary problem. Find a dozen and it almost certainly is.
Drainage hole test
Dig a hole 6 to 12 inches deep in the bare spot, fill it with water, and watch the clock. For standardized procedures and more accurate infiltration measurements, see Field Methods for Measuring Infiltration & Ring Infiltrometer Guidance (EPA/USDA reference manual). If the water drains within 20 to 30 minutes, infiltration is acceptable. If water is still sitting in the hole an hour or more later, you have a drainage problem that needs to be addressed before reseeding. This can indicate a hardpan layer, heavy clay subsoil, or a high water table. Standing water suffocates roots and creates conditions where most turf grasses simply cannot survive.
Water-drop penetration time (WDPT) test for hydrophobic soil
This one surprises a lot of people. Some soils, especially sandy or highly organic soils that have dried out repeatedly, develop water repellency. Water beads on the surface and runs off instead of soaking in, so seed never gets wet even when you irrigate. To test it, let the soil surface dry completely, then place a single water droplet on the bare mineral soil and time how long it takes to absorb. Under 5 seconds is fine. Between 5 and 60 seconds indicates slight repellency. From 60 to 600 seconds is strong repellency, and anything over 10 minutes is severe. If your spot fails this test, physical wetting agents or thorough tilling and topdressing with compost are needed before seeding.
Thatch depth check
Cut a small plug of turf with a knife or trowel and look at the cross-section. The thatch layer is the brown, spongy material between the green grass blades and the soil surface. Measure it with a ruler. More than half an inch means thatch is a likely contributor to the problem. At this thickness it can prevent water and seed from reaching the soil, harbor fungal pathogens, and make fertilizer less effective. A threshold of 0.5 to 0.75 inches is the point where dethatching is generally warranted.
pH strip test and soil sampling
A basic pH strip test from a garden center gives you a rough reading in minutes. Wet a small soil sample from 2 to 4 inches deep, press the strip against it, and compare to the chart. Most turf grasses prefer a pH of 6.0 to 7.0. A reading below 5.5 or above 7.5 is a flag worth acting on. For a complete picture, though, collect a composite soil sample by mixing 10 to 20 small cores taken from 2 to 4 inch depth across the problem area and sending them to an extension lab. For under $20 you'll get pH, phosphorus, potassium, calcium, magnesium, organic matter content, and specific lime or fertilizer recommendations calibrated to your soil's buffering capacity. Generic charts can send you in the wrong direction.
Checking for pest and disease signs
For disease, look at the grass blades at the perimeter of the patch under good light. Brown patch typically shows tan lesions with a darker border. Dollar spot produces small bleached spots the size of a silver dollar. Fairy ring creates dark green rings or rings of dead grass. If you see distinctive lesion patterns, preserve a sample of affected turf in a sealed bag and submit it to your nearest extension plant disease lab for confirmation before applying any fungicide. For insect pests beyond grubs, chinch bugs and sod webworms have their own sampling protocols. Follow your local extension IPM thresholds before treating, because unnecessary pesticide applications can make some recovery situations worse.
Urine and chemical burn check
Pet urine burn typically produces a round dead patch with a green ring at the edge (the nitrogen at the diluted perimeter actually acts as fertilizer). Chemical burns from over-applied herbicide or fertilizer usually follow the application pattern, appearing as streaks, edges, or areas matching spray overlap. If you know a pet uses the spot or recently applied a product, that's usually enough evidence. Soil in these spots often recovers on its own with heavy watering to flush nitrogen salts, followed by reseeding once the soil readings normalize.
Reading the results and deciding what to fix first
Once you've run the tests, rank what you found by severity and by whether it's a standalone cause or a compounding factor. Here's how to prioritize:
| Test finding | Priority level | Fix before reseeding? | Notes |
|---|---|---|---|
| Compaction (screwdriver stops at <3 inches) | High | Yes | Aerate first; seed won't establish in compacted soil |
| Drainage failure (water sits >1 hour) | High | Yes | Address before any other amendment or seeding |
| Grubs >8–10 per sq ft | High | Yes | Treat pests, allow soil to settle, then reseed |
| pH below 5.5 or above 7.5 | High | Yes (allow time) | Lime or sulfur months before seeding if possible |
| Thatch >0.75 inch | Medium–High | Yes | Dethatch and aerate, then overseed |
| Hydrophobic soil (WDPT >60 sec) | Medium–High | Yes | Apply wetting agent or till in compost |
| Low organic matter / sandy soil | Medium | Yes | Topdress with compost; realistic recovery takes months |
| Shade (canopy >50% coverage) | Medium | Depends | Switch species or groundcover if shade is dense |
| Grubs <5 per sq ft | Low | No | Monitor; may not be primary cause |
| Nutrient deficiency (P, K, minor elements) | Low–Medium | No | Correct at time of seeding per lab recommendation |
| Pet urine / chemical burn (isolated) | Low | No | Flush with water; reseed after flushing |
If multiple issues show up at once, which happens more often than you'd expect, always fix physical and structural problems (drainage, compaction, extreme pH) before anything else. Correcting those unlocks the effectiveness of every other amendment you apply.
Fixing compacted soil
Compaction is the most common reason grass refuses to grow in a specific spot, especially in high-traffic areas, around driveways, under swingsets, or where heavy equipment has driven. Compacted soil physically prevents roots from penetrating, suffocates soil biology, and sheds water instead of absorbing it. Reseeding without aerating is a near-certain failure.
What causes it and how to spot it
Foot traffic, vehicle weight, repeated heavy rainfall on bare soil, and even overwatering can all compact soil. The screwdriver test tells you if it's a problem. Visual signs include soil that looks almost smooth and almost dusty on top, shallow rooting visible when you cut a plug, and water pooling briefly on the surface before running off. Compacted areas in established lawns also tend to thin gradually rather than die suddenly, because the deterioration happens season by season as roots can no longer penetrate.
Core aeration: the most effective fix
Hollow-tine core aeration is the go-to solution and for good reason. The machine pulls plugs 2 to 4 inches deep out of the soil, opening channels for air, water, and roots. It also creates ideal seed-to-soil contact for overseeding, especially when followed by a light topdressing of compost or sand-free topsoil. For cool-season grasses (fescue, bluegrass, ryegrass), the best window for aeration and overseeding is early fall. For warm-season grasses (bermudagrass, zoysiagrass), aim for late spring to early summer when the turf is actively growing. Lawns on heavily compacted or high-traffic soil benefit from annual aeration. Lower-use lawns can go every 2 to 3 years. Solid tines or spike aerators do less good than hollow tines and can even worsen compaction by pushing soil sideways, so rent or hire a hollow-tine machine where possible.
Topdressing and follow-up
After aeration, drag a quarter-inch layer of quality compost or a compost-and-topsoil blend across the surface. This gets incorporated into the aeration holes, improves the soil organic matter content (which directly improves structure and water retention), and gives newly seeded grass a better rootzone to establish in. You don't need to remove the cores. They'll break down within a week or two and actually return organic matter to the surface. Water thoroughly and overseed immediately after topdressing for best results.
Mechanical options for severe cases
Where compaction is extreme (as in areas that have been driven over repeatedly or where soil bulk density is in the problematic range above 1.6 g/cm3 for loams), single-pass aeration won't be enough. In those situations, renting a vertical slitter, making multiple aeration passes in different directions, or in really bad cases, rototilling the top 4 to 6 inches and rebuilding the seedbed with added compost may be the only realistic path to establishing grass. This is labor-intensive and may temporarily look worse before it gets better, but it addresses the root cause permanently rather than papering over it.
Dealing with too much shade
Shade is the second most common culprit for patches where grass won't grow, and it's one of the most frustrating because the cause is often beautiful: a mature tree or a well-sited structure. The honest truth is that most common lawn grasses need at least 4 hours of direct sunlight daily, and some need 6 to 8 hours. Beyond a certain shade density, no amount of soil amendment or reseeding will make a difference. You have to either change the light conditions or change what's growing there.
Confirming shade is the real issue
Track the sun on the patch throughout the day. Use your phone camera or just check at 9 am, noon, 3 pm, and 6 pm. If the area is in shade for more than about 6 hours a day during the growing season, shade is a primary factor. Also look at root competition. Trees, especially shallow-rooted species like maples and beeches, compete aggressively with grass for water and nutrients within their drip line. Even if there's some light, the combination of competition and shade can make it nearly impossible for grass to establish.
Improving light with selective pruning
Raising the crown of a tree by selectively removing lower limbs can meaningfully improve light penetration to the ground below. Thinning the canopy by removing crossing, dead, or densely packed interior branches lets dappled light through without removing the tree's structure. This is worth doing before switching grass species, because even modest light improvement can put you back in the range where shade-tolerant turf species can survive. For large trees, hire a certified arborist to assess what pruning is safe for the tree's long-term health.
Shade-tolerant grass species
If you can get 3 to 4 hours of direct or filtered light per day, the right grass species can make a real difference. In cool-season climates, fine fescues (creeping red, chewings, hard fescue) are the best performers under shade. In warm-season climates, St. Augustinegrass handles moderate shade better than bermudagrass or zoysiagrass, though zoysiagrass has some shade tolerance in lighter conditions. Even the most shade-tolerant grasses will struggle under dense tree canopies blocking more than 70 to 80 percent of light, so be realistic about what you're working with.
When to stop fighting and choose a groundcover instead
Under dense shade with significant root competition, the practical answer is often to stop trying to grow grass and plant something designed for those conditions. Options like pachysandra, vinca minor (periwinkle), liriope, native woodland sedges, or even a well-designed mulch bed around tree bases look intentional and require far less maintenance than a perpetually failing patch of grass. Mulching under trees also protects surface roots from mower damage and improves soil moisture retention. Sometimes the best lawn advice is to accept that some spots aren't lawn spots.
Poor or sandy soil: building up what isn't there
Sandy soil and nutrient-poor subsoil (often exposed after construction grading) are genuinely difficult starting points for grass. Sandy soils drain so fast that water and nutrients flush through before roots can use them. Subsoil exposed by grading has almost no organic matter, poor structure, and typically a hostile pH. Grass can be established in both situations, but it takes more amendment, more patience, and realistic expectations about how long recovery takes.
What your soil test will show
Poor or sandy soils typically come back with low organic matter (under 2 percent), low cation exchange capacity (meaning fertilizer doesn't stick around), deficiencies in phosphorus and potassium, and sometimes an acidic or unusually alkaline pH depending on what's been exposed. Subsoil after construction grading may have elevated pH from concrete dust or lime in the fill material. Your soil test will flag these issues and give you a starting point for amendments.
Amending with organic matter
Compost is the most broadly useful amendment for both sandy soil and poor subsoil. In sandy soil it improves water and nutrient retention. In compacted or poor subsoil it improves structure and feeds soil biology. For a patch that's genuinely being rebuilt, work 2 to 4 inches of finished compost into the top 4 to 6 inches of soil before seeding. This is labor-intensive for a large area but dramatically improves establishment success compared to seeding straight into problem soil. If organic matter is very low (under 1.5 percent on a lab test), plan to topdress with a quarter-inch of compost annually for a few years to build up to the 3 to 5 percent organic matter range where turf really thrives.
Addressing pH before you seed
For acidic soil (pH below 6.0), lime is the standard correction. The critical thing here is to follow your soil lab's specific lime recommendation rather than a generic bag rate, because how much lime you need depends on your soil's buffering capacity (which is a function of clay and organic matter content). A sandy soil with low buffering capacity changes pH quickly with less lime. A heavy clay soil needs more. Extension guidance generally suggests not exceeding 50 to 70 pounds of lime per 1,000 square feet in a single application on established turf, splitting larger applications over multiple seasons. UMass Extension's Best Management Practices for Lawn & Landscape Turf provides liming guidance and per-application limits, noting rates around 50–70 lb per 1,000 ft² for established turf and advising to follow your soil‑test lab's specific recommendation Best Management Practices for Lawn & Landscape Turf (UMass Extension) — liming guidance and per‑application limits. Apply lime months before seeding when possible, and aerate before applying lime to get it deeper into the rootzone faster. For alkaline soil (pH above 7.5), elemental sulfur is used to lower pH, but the rate and timing also require a lab recommendation. pH adjustment takes time, and the soil needs to equilibrate before new seed will benefit fully.
Realistic timelines for soil recovery
This is where I try to be honest with people: rebuilding genuinely poor soil is not a one-season project. A sandy or heavily depleted patch that gets proper compost incorporation, a corrected pH, and the right seed in the right season can show reasonable grass cover within 6 to 16 weeks of seeding, depending on the species. But building the soil organic matter and structure that supports a robust, self-sustaining lawn takes 2 to 3 years of consistent amendment and management. You'll see improvement each season. Just don't expect the soil to transform overnight.
Overseeding vs. sodding: which makes more sense for your patch
Once the root cause is addressed, you need to get grass back into the bare area. The two main options are overseeding and laying sod, and the right choice depends on your timeline, budget, patch size, and season.
| Factor | Overseeding / Seeding | Sodding |
|---|---|---|
| Cost | Low (seed + labor) | Higher (sod purchase + installation) |
| Speed to usable cover | 6–16 weeks depending on species | 2–3 weeks to rooting under good moisture |
| Best for | Large areas, ample time, budget-conscious repairs | Slopes, erosion risk, quick cover needed, small patches |
| Timing flexibility | Season-dependent (cool-season: early fall; warm-season: late spring–early summer) | More flexible but still benefits from right season |
| Species choice | Wide variety available | Limited to what's grown locally |
| Irrigation demand | High during germination (2–4x per day) | High during rooting but for shorter period |
| Failure risk | Higher if timing or moisture is off | Lower if soil prep is adequate and watering is consistent |
For most homeowners with multiple bare patches scattered across the lawn, overseeding after aeration is the most cost-effective approach. Sodding makes the most sense for a single visible bare area in a high-traffic or highly visible spot, for slopes where seed would wash away, or when you genuinely can't afford to wait 8 to 12 weeks for germination. Plugs are a middle-ground option for warm-season grasses like zoysiagrass and St. Augustinegrass that don't establish reliably from seed.
Germination times and seeding rates to set expectations
Knowing how long different grass species take to germinate helps you avoid panicking in the first two weeks. Perennial ryegrass is the fastest at 5 to 10 days at a seeding rate of 5 to 10 pounds per 1,000 square feet. Tall fescue follows at 7 to 14 days, 6 to 8 pounds per 1,000 square feet. Kentucky bluegrass is notably slow at 14 to 28 or more days, 2 to 4 pounds per 1,000 square feet (often mixed with ryegrass for faster initial cover). Bermudagrass seed goes down in late spring to early summer. Zoysiagrass and St. Augustinegrass are almost always established from sod or plugs rather than seed. Use lower rates toward the bottom of those ranges for overseeding into existing turf, higher rates for bare-ground establishment.
Watering new seed properly
The number one killer of newly seeded patches is letting the seedbed dry out during germination. For the first 2 to 3 weeks, you need to keep the top quarter to half inch of soil consistently moist, which means light, frequent irrigation, often 2 to 4 times per day in warm dry weather. This is not how you water an established lawn, but germinating seeds don't have roots yet and can't access deeper moisture. Once seedlings emerge and reach about 1 inch tall, reduce watering frequency and increase depth to encourage roots to follow moisture downward. After full establishment, transition to roughly 1 inch of water per week applied in 1 to 2 deeper sessions.
When to call a professional
Most bare patch causes can be handled by a motivated homeowner with rented equipment and a soil test. But there are situations where professional help pays for itself. If your drainage test shows water sitting for hours and regrading appears necessary, a landscape contractor can assess and correct grade or install a French drain system. If disease samples come back with a confirmed pathogen requiring fungicide rotation, a licensed applicator can handle this more safely and accurately than a DIY program. If grub damage is severe and persistent, a lawn care professional familiar with local pest pressure and neonicotinoid restrictions can develop a treatment plan. And if you've tried two seasons of amendments and reseeding without meaningful improvement, a soil scientist or extension service professional can look at the site and testing data fresh.
The consistent thread through all of this is that a bare patch where grass won't grow is a symptom, not the problem. Treat the symptom and you'll reseed it again next year. For an evocative cultural reference to stubborn, unyielding patches, see Where Grass Won't Grow (George Jones). Find and fix the cause, and grass actually grows.
FAQ
What is the quickest step‑by‑step diagnostic workflow when I find patches where grass won’t grow?
1) Inspect pattern and timing (dog spots, traffic routes, shade patterns, seasonal onset). 2) Do quick field checks: push a long screwdriver or probe into the soil (~6 in) to check compaction; pull up a 1 ft² of turf to test root retention. 3) Do a simple infiltration check: dig a 6–12 in hole, fill with water and time drainage. 4) WDPT water‑drop test on bare mineral soil to detect hydrophobicity. 5) Collect a composite soil sample (2–4 in depth) from the affected zone for pH/nutrient/OM lab analysis. 6) If pests/disease suspected, dig and inspect roots for grubs, or submit turf samples to your extension clinic. 7) Match the repair (seed/sod/plug) to diagnosis and fix rootzone issues first (aerate/topdress/drainage/amend pH) before replanting.
How can I tell if compaction is the cause, and what confirmatory tests should I run?
Signs: hard, dense soil; thin shallow roots; bare spots on paths or play areas. Quick checks: screwdriver or soil probe that won’t reach ~6 in indicates compaction; pull‑up ‘tug’ test — turf that peels up with little root resistance. For quantitative confirmation use a hand penetrometer or measure bulk density (labs) — thresholds: bulk density >1.4 g/cm³ (sands) or >1.6 g/cm³ (loams/clays) or penetrometer resistance ≈2.0–2.5 MPa indicate restricted root growth.
What do I do if drainage or standing water is stopping grass from growing?
Confirm with a 6–12 in infiltration hole: slow drainage or persistent standing water means poor infiltration. Solutions: regrade surface to shed water away from the area, install French drains or subsurface drains where needed, replace/repair compacted or clayey rootzone with a free‑draining mix (mix of topsoil and coarse sand/organic matter), or install raised beds or sod on a rebuilt rootzone. For localized puddles consider dry wells or diversion swales. After drainage is fixed, aerate, topdress, and reseed or sod.
How do I check for pests like grubs or disease and what thresholds trigger treatment?
Pest check: cut and lift a 1 ft² sod section and inspect the top 2–4 in of soil for C‑shaped white grubs; thresholds vary with species but ~8–10 grubs/ft² often justifies control. Also look for rootless turf that peels up easily. Disease suspicion: irregular patches, leaf lesions, rings, or rapid browning during warm/humid weather. If unsure, submit samples to your local extension plant clinic. Treat grubs or insects according to local IPM thresholds and product recommendations; for diseases prioritize cultural fixes (irrigation timing, mowing height, fertility) before fungicides unless confirmed and severe.
What simple field tests detect hydrophobic (water‑repellent) soil?
Use the water‑drop penetration test (WDPT): on air‑dry mineral soil place a water droplet and time how long it takes to infiltrate. Classes: <5 s = wettable; 5–60 s = slight repellency; 60–600 s = strong; 600–3600 s = severe; >3600 s = extreme. Hydrophobic soils need incorporation of organic matter, aeration, surfactant wetting agents for short term, and long‑term remediation by topdressing and improved organic content.
When should I send a soil sample to a lab and what should I request?
Send a soil sample when your basic checks don’t explain the problem or before large repairs: collect 10–20 cores from the affected management zone to 2–4 in depth and mix them into a composite sample. Request a turf/soil test that reports pH (and buffer pH if available), P, K, Ca, Mg, micronutrients, organic matter, and lime/fertilizer recommendations. Follow the lab’s sampling instructions and use their lime (CCE) or fertilizer rates rather than generic charts.
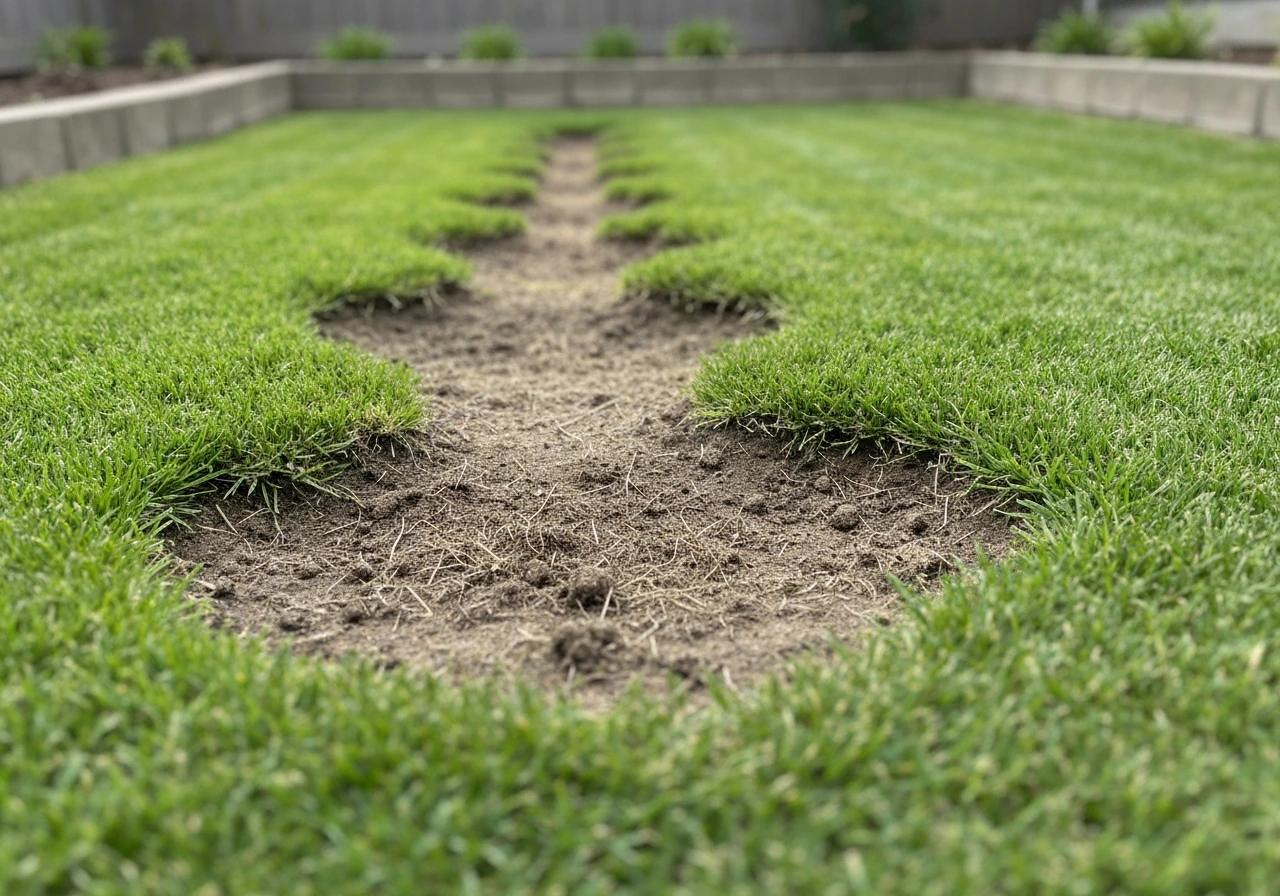
Find why grass won’t grow in patchy spots and fix it fast with tests, soil care, drainage, irrigation, and reseeding tip
Clarifies George Jones Where Grass Won’t Grow plus step-by-step lawn fixes for shade, poor soil, drainage, and pH.
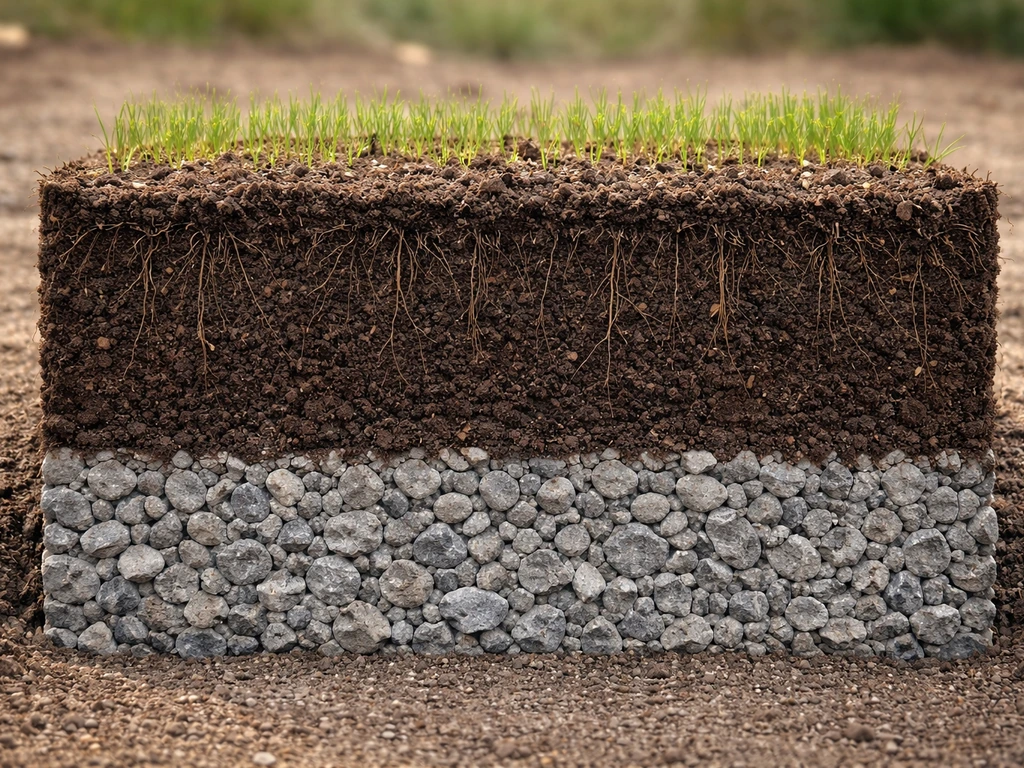
Learn when you can grow grass over gravel and follow a step-by-step method for soil depth, drainage, seeding or sod, and